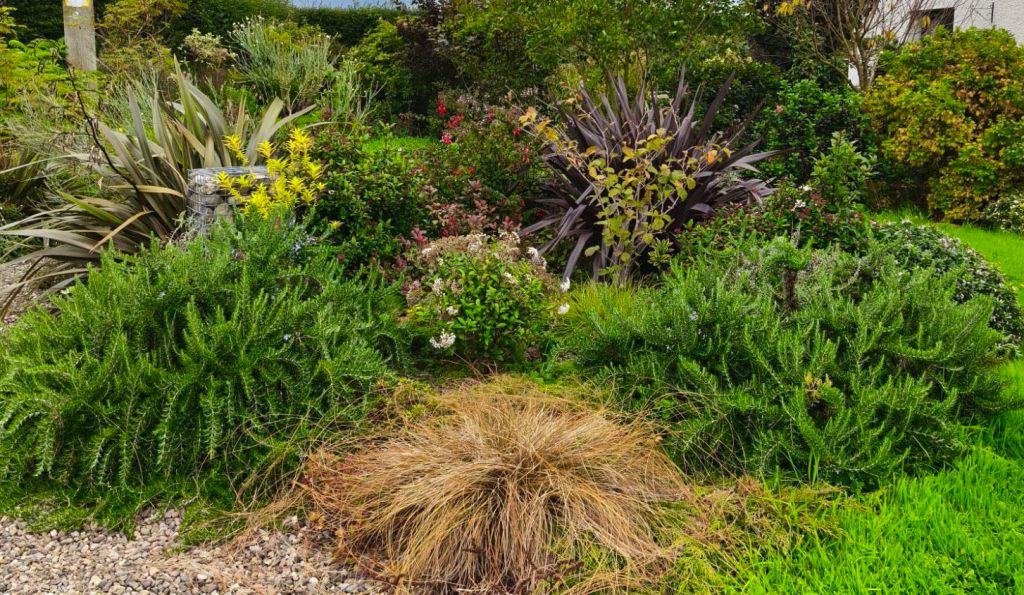
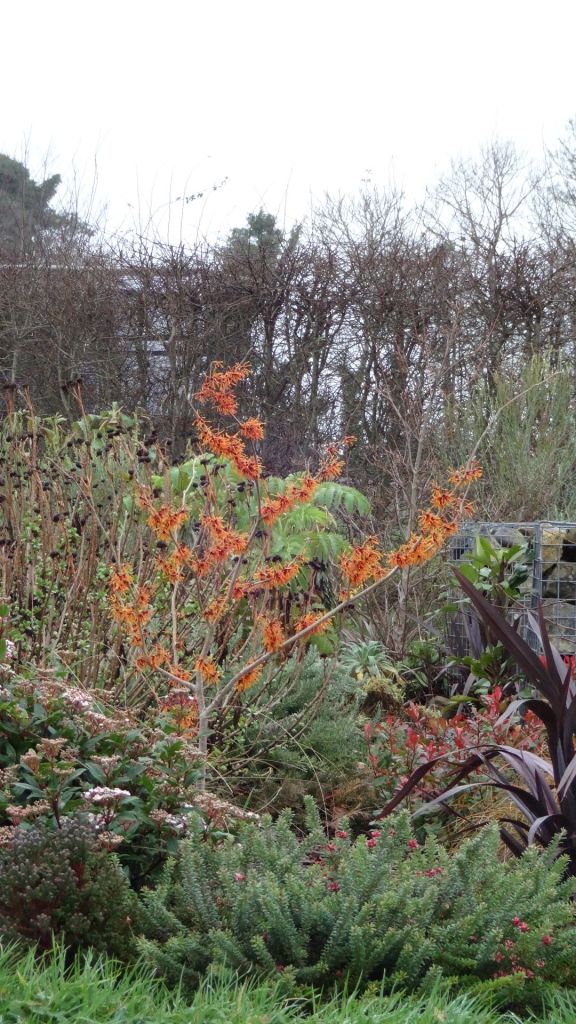
☝️Here is a look around a planting scheme in part of the garden called The Pylon Garden. In the video above is a quick look around all the planting now in early October.
👇Below is a more detailed description of some of the main plants in the planting scheme.
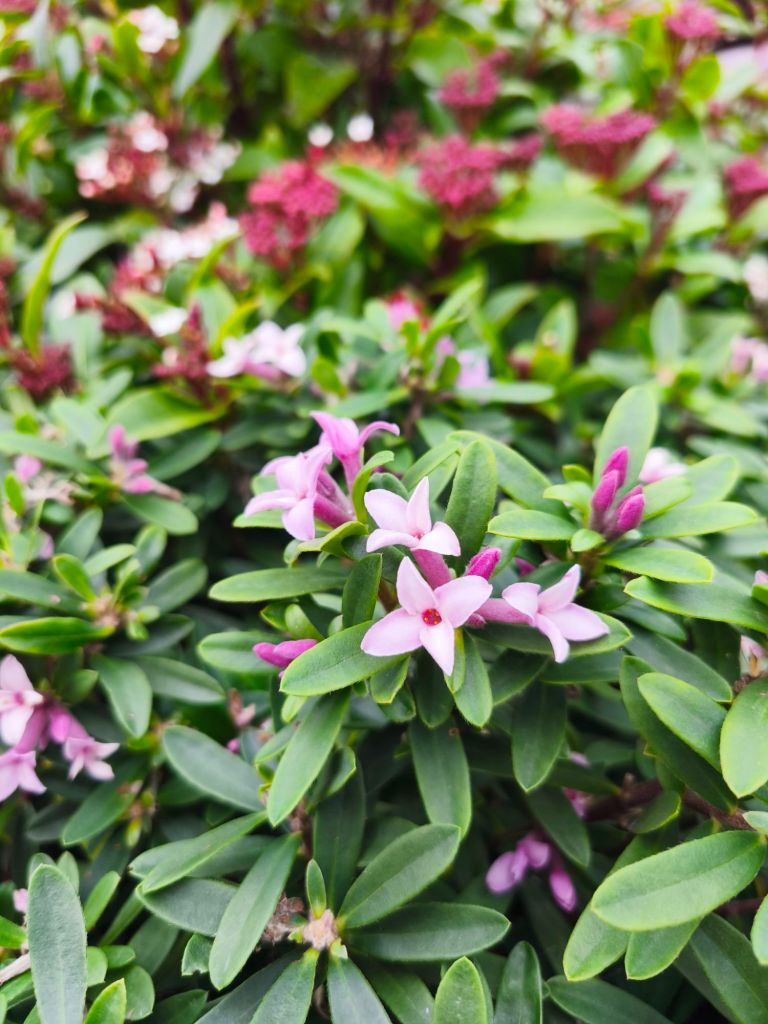
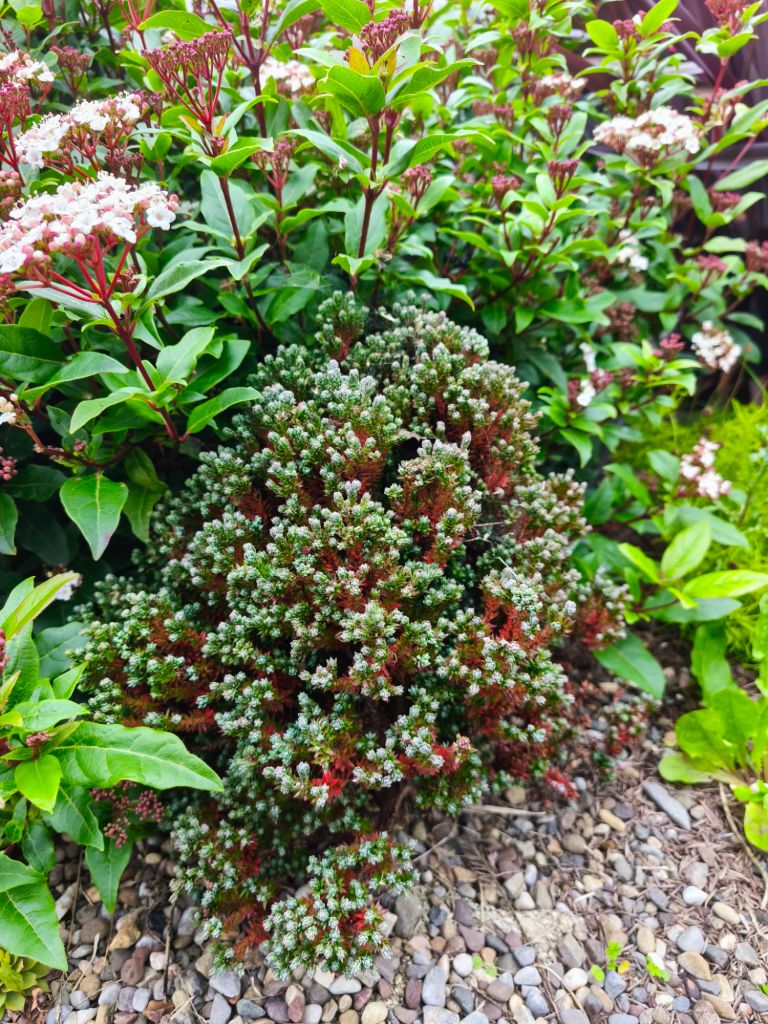
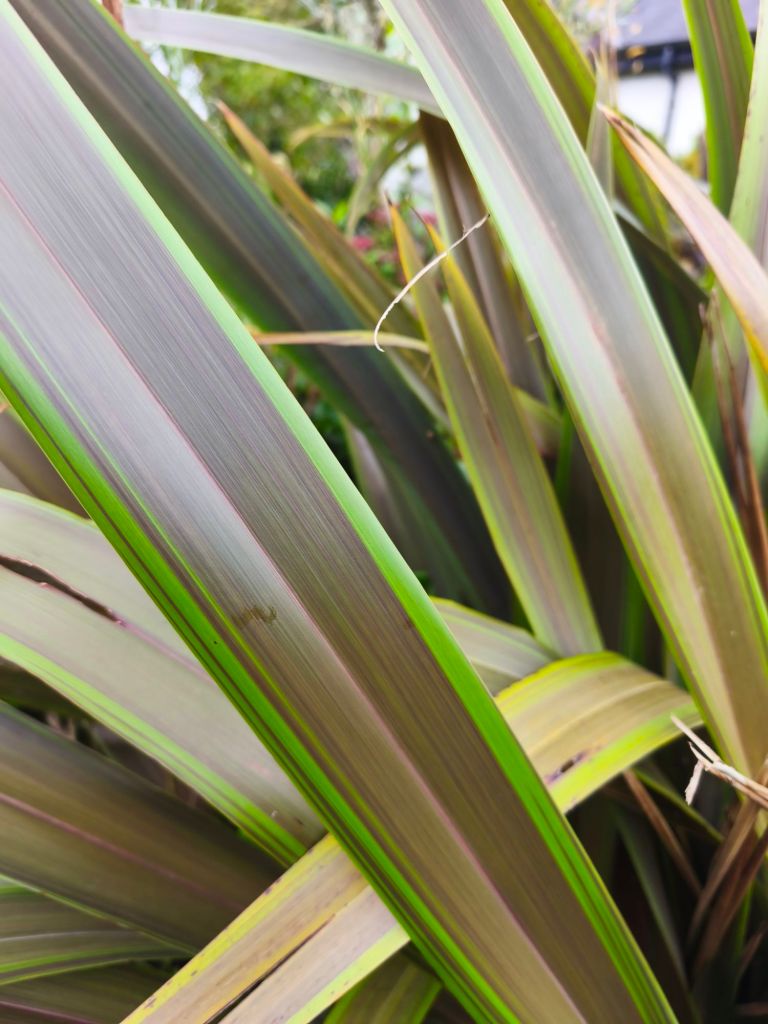
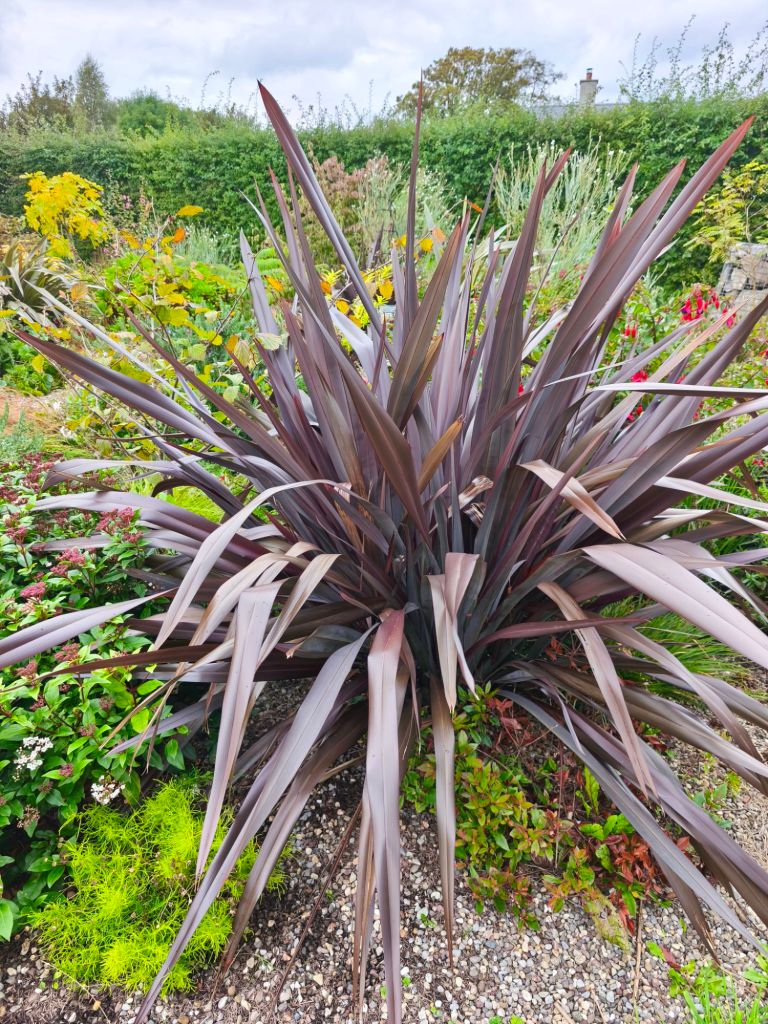
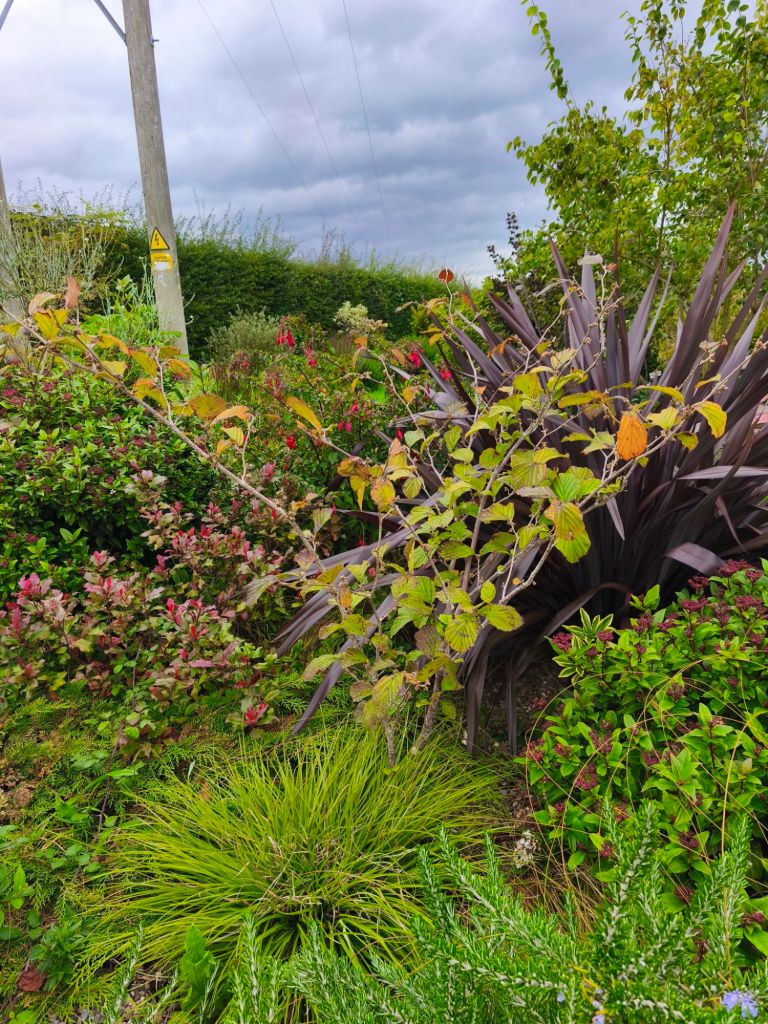
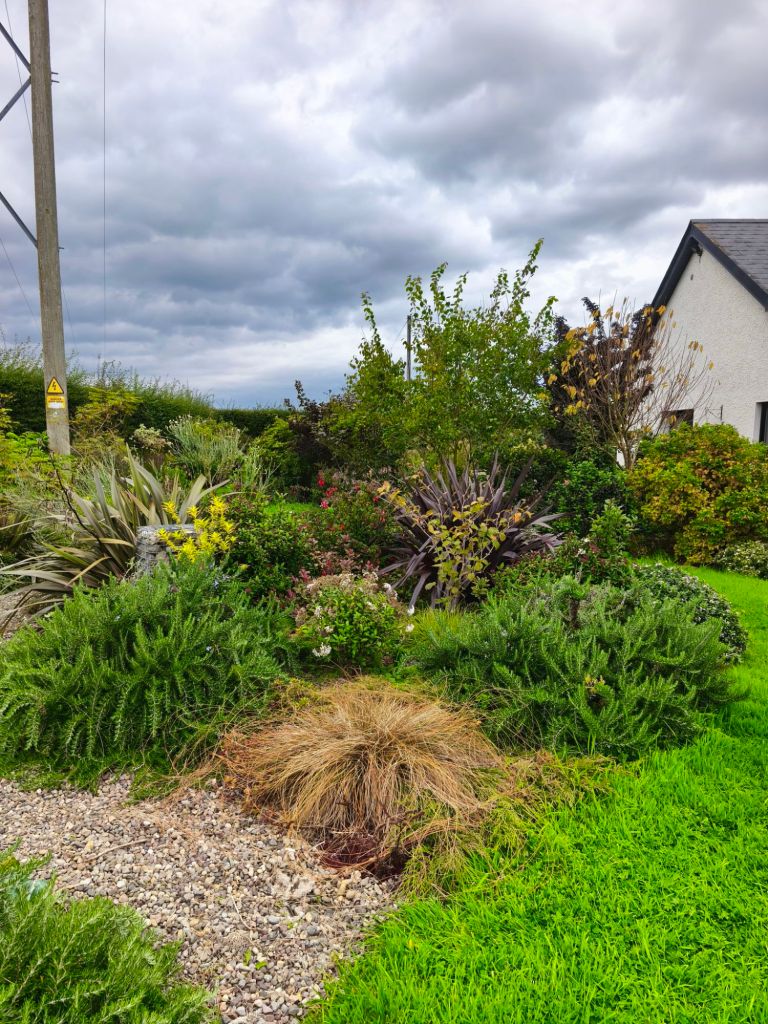
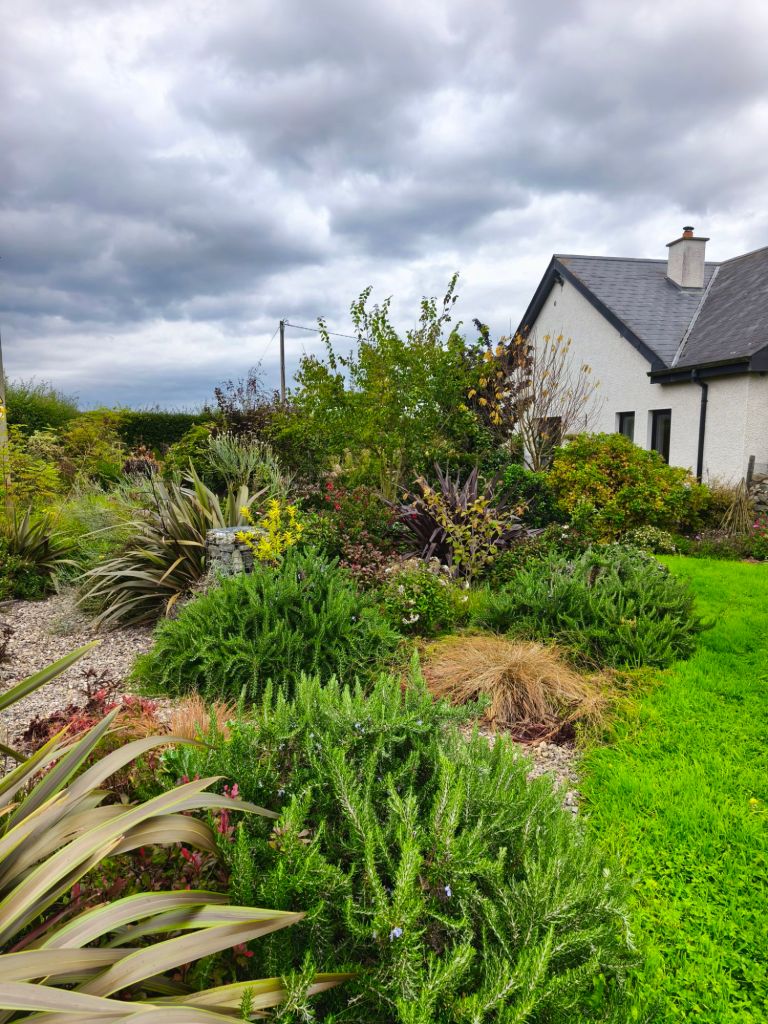
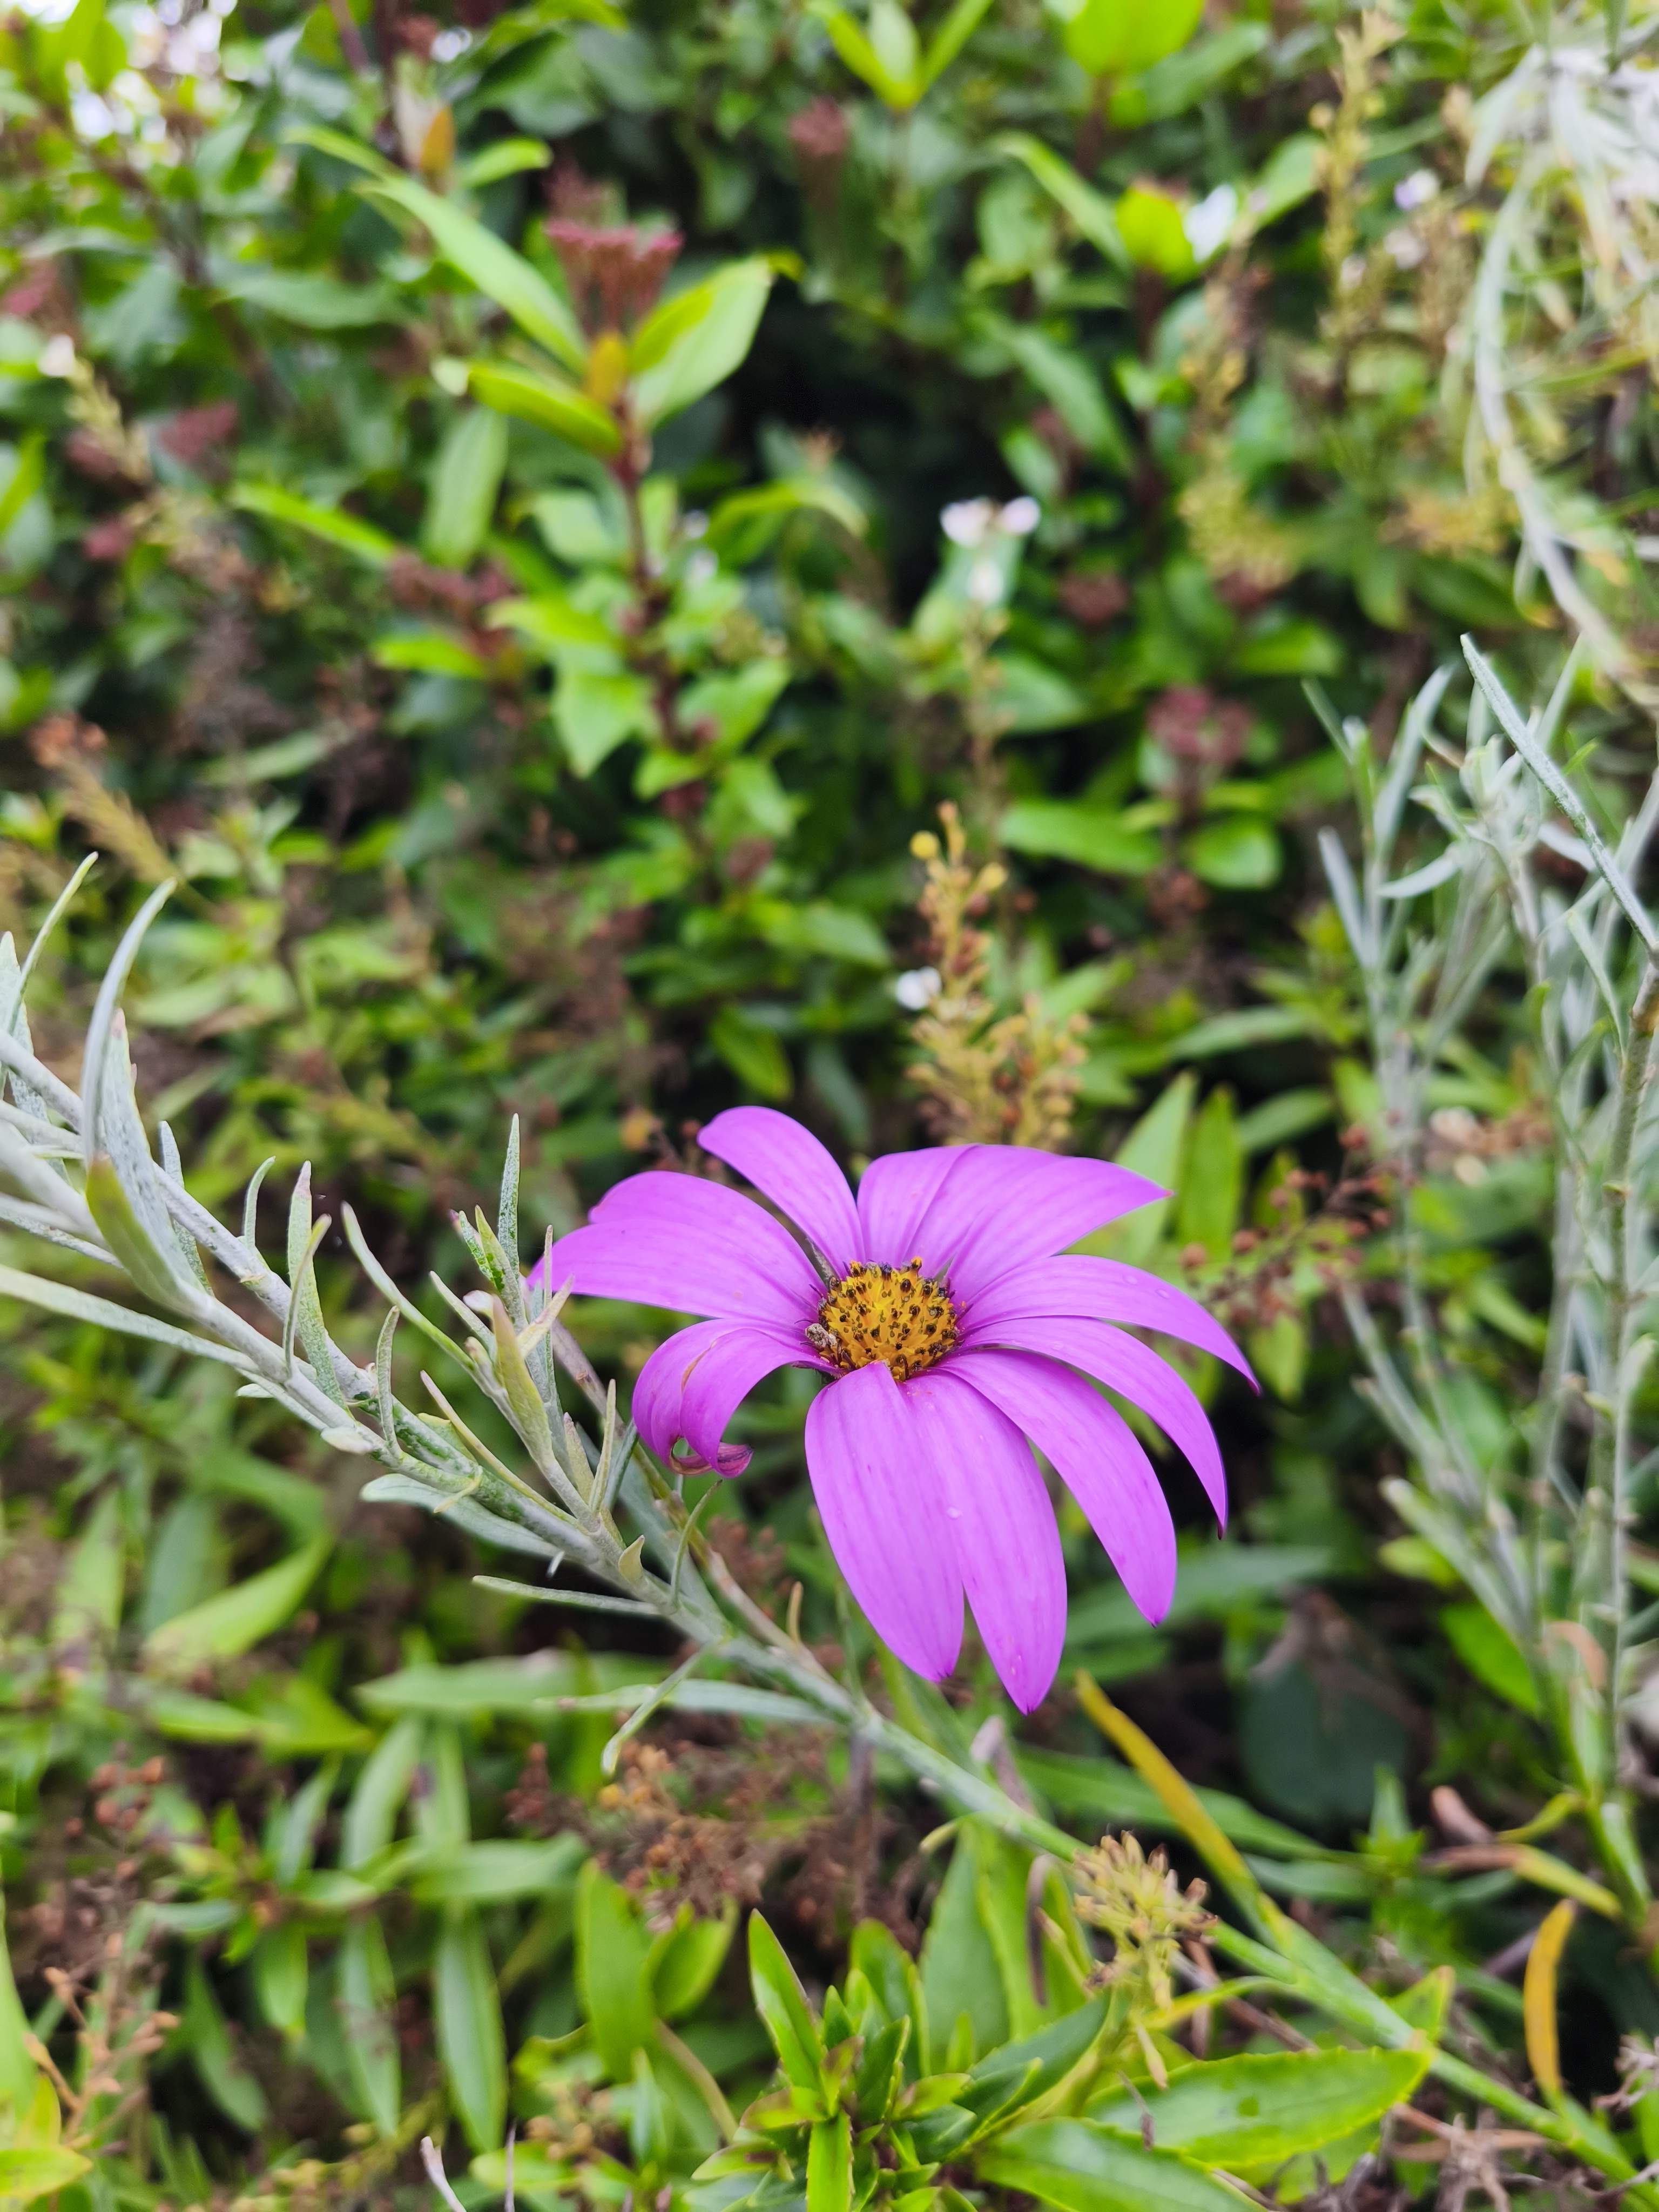
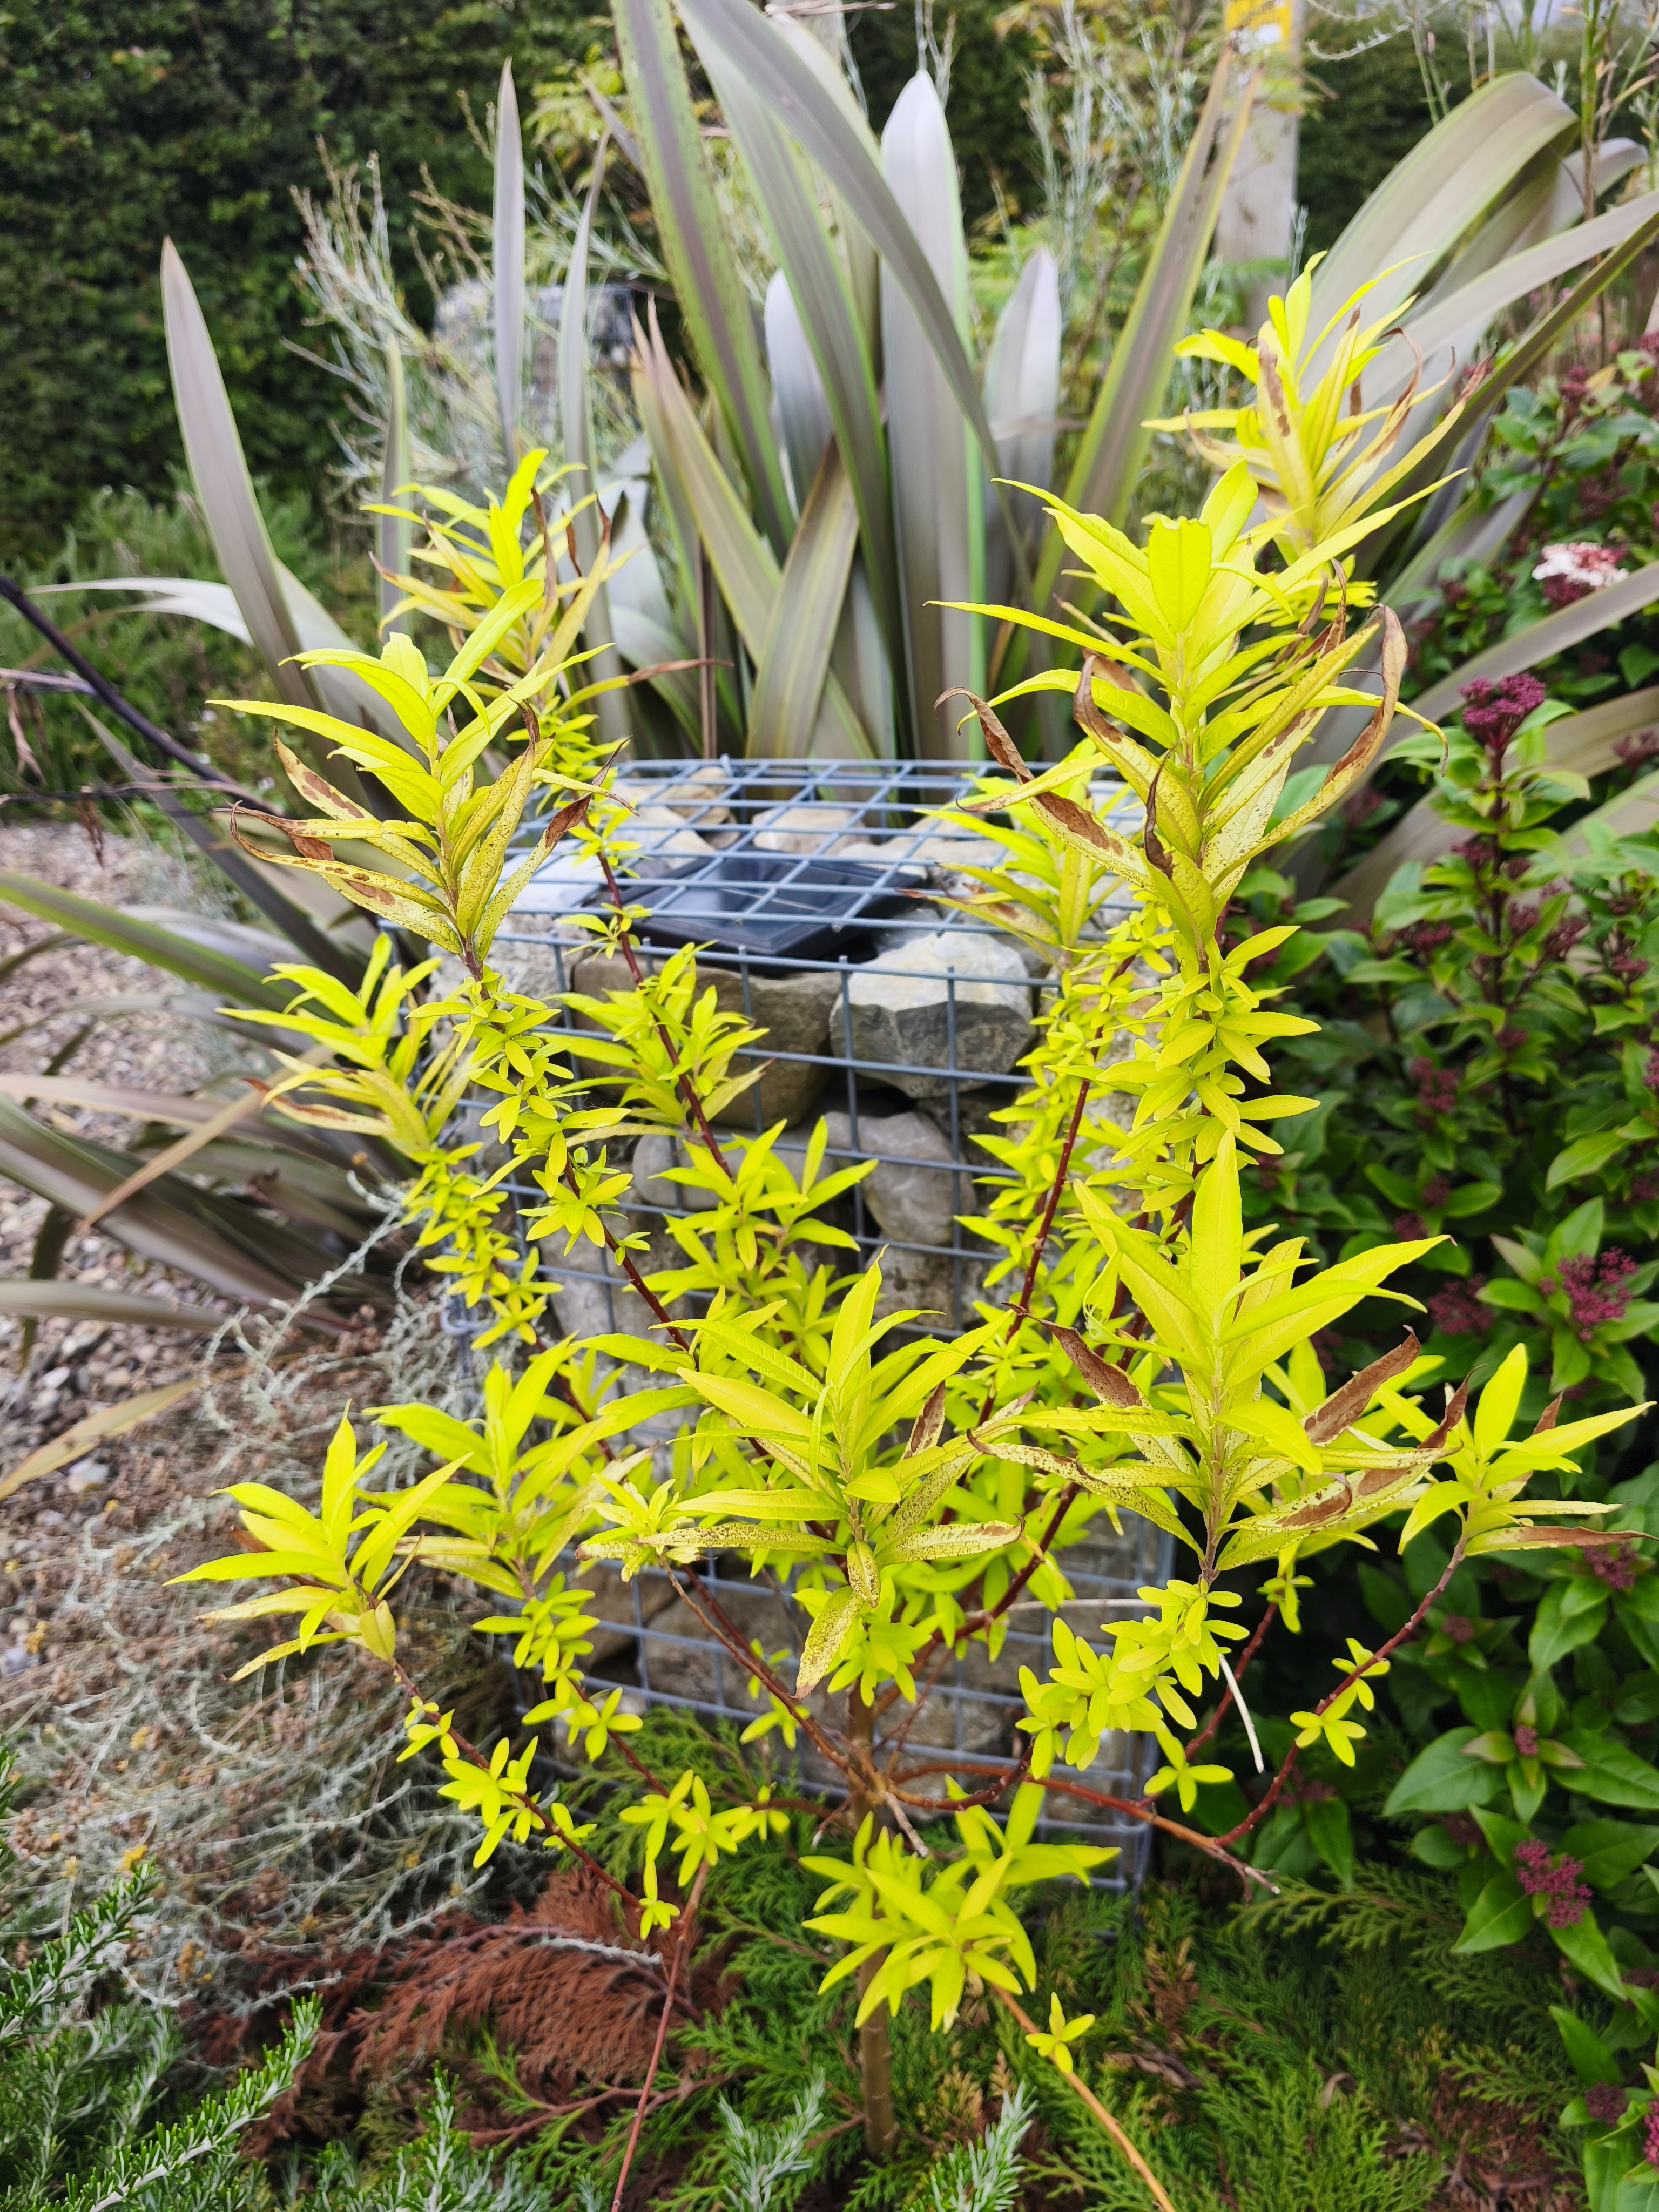
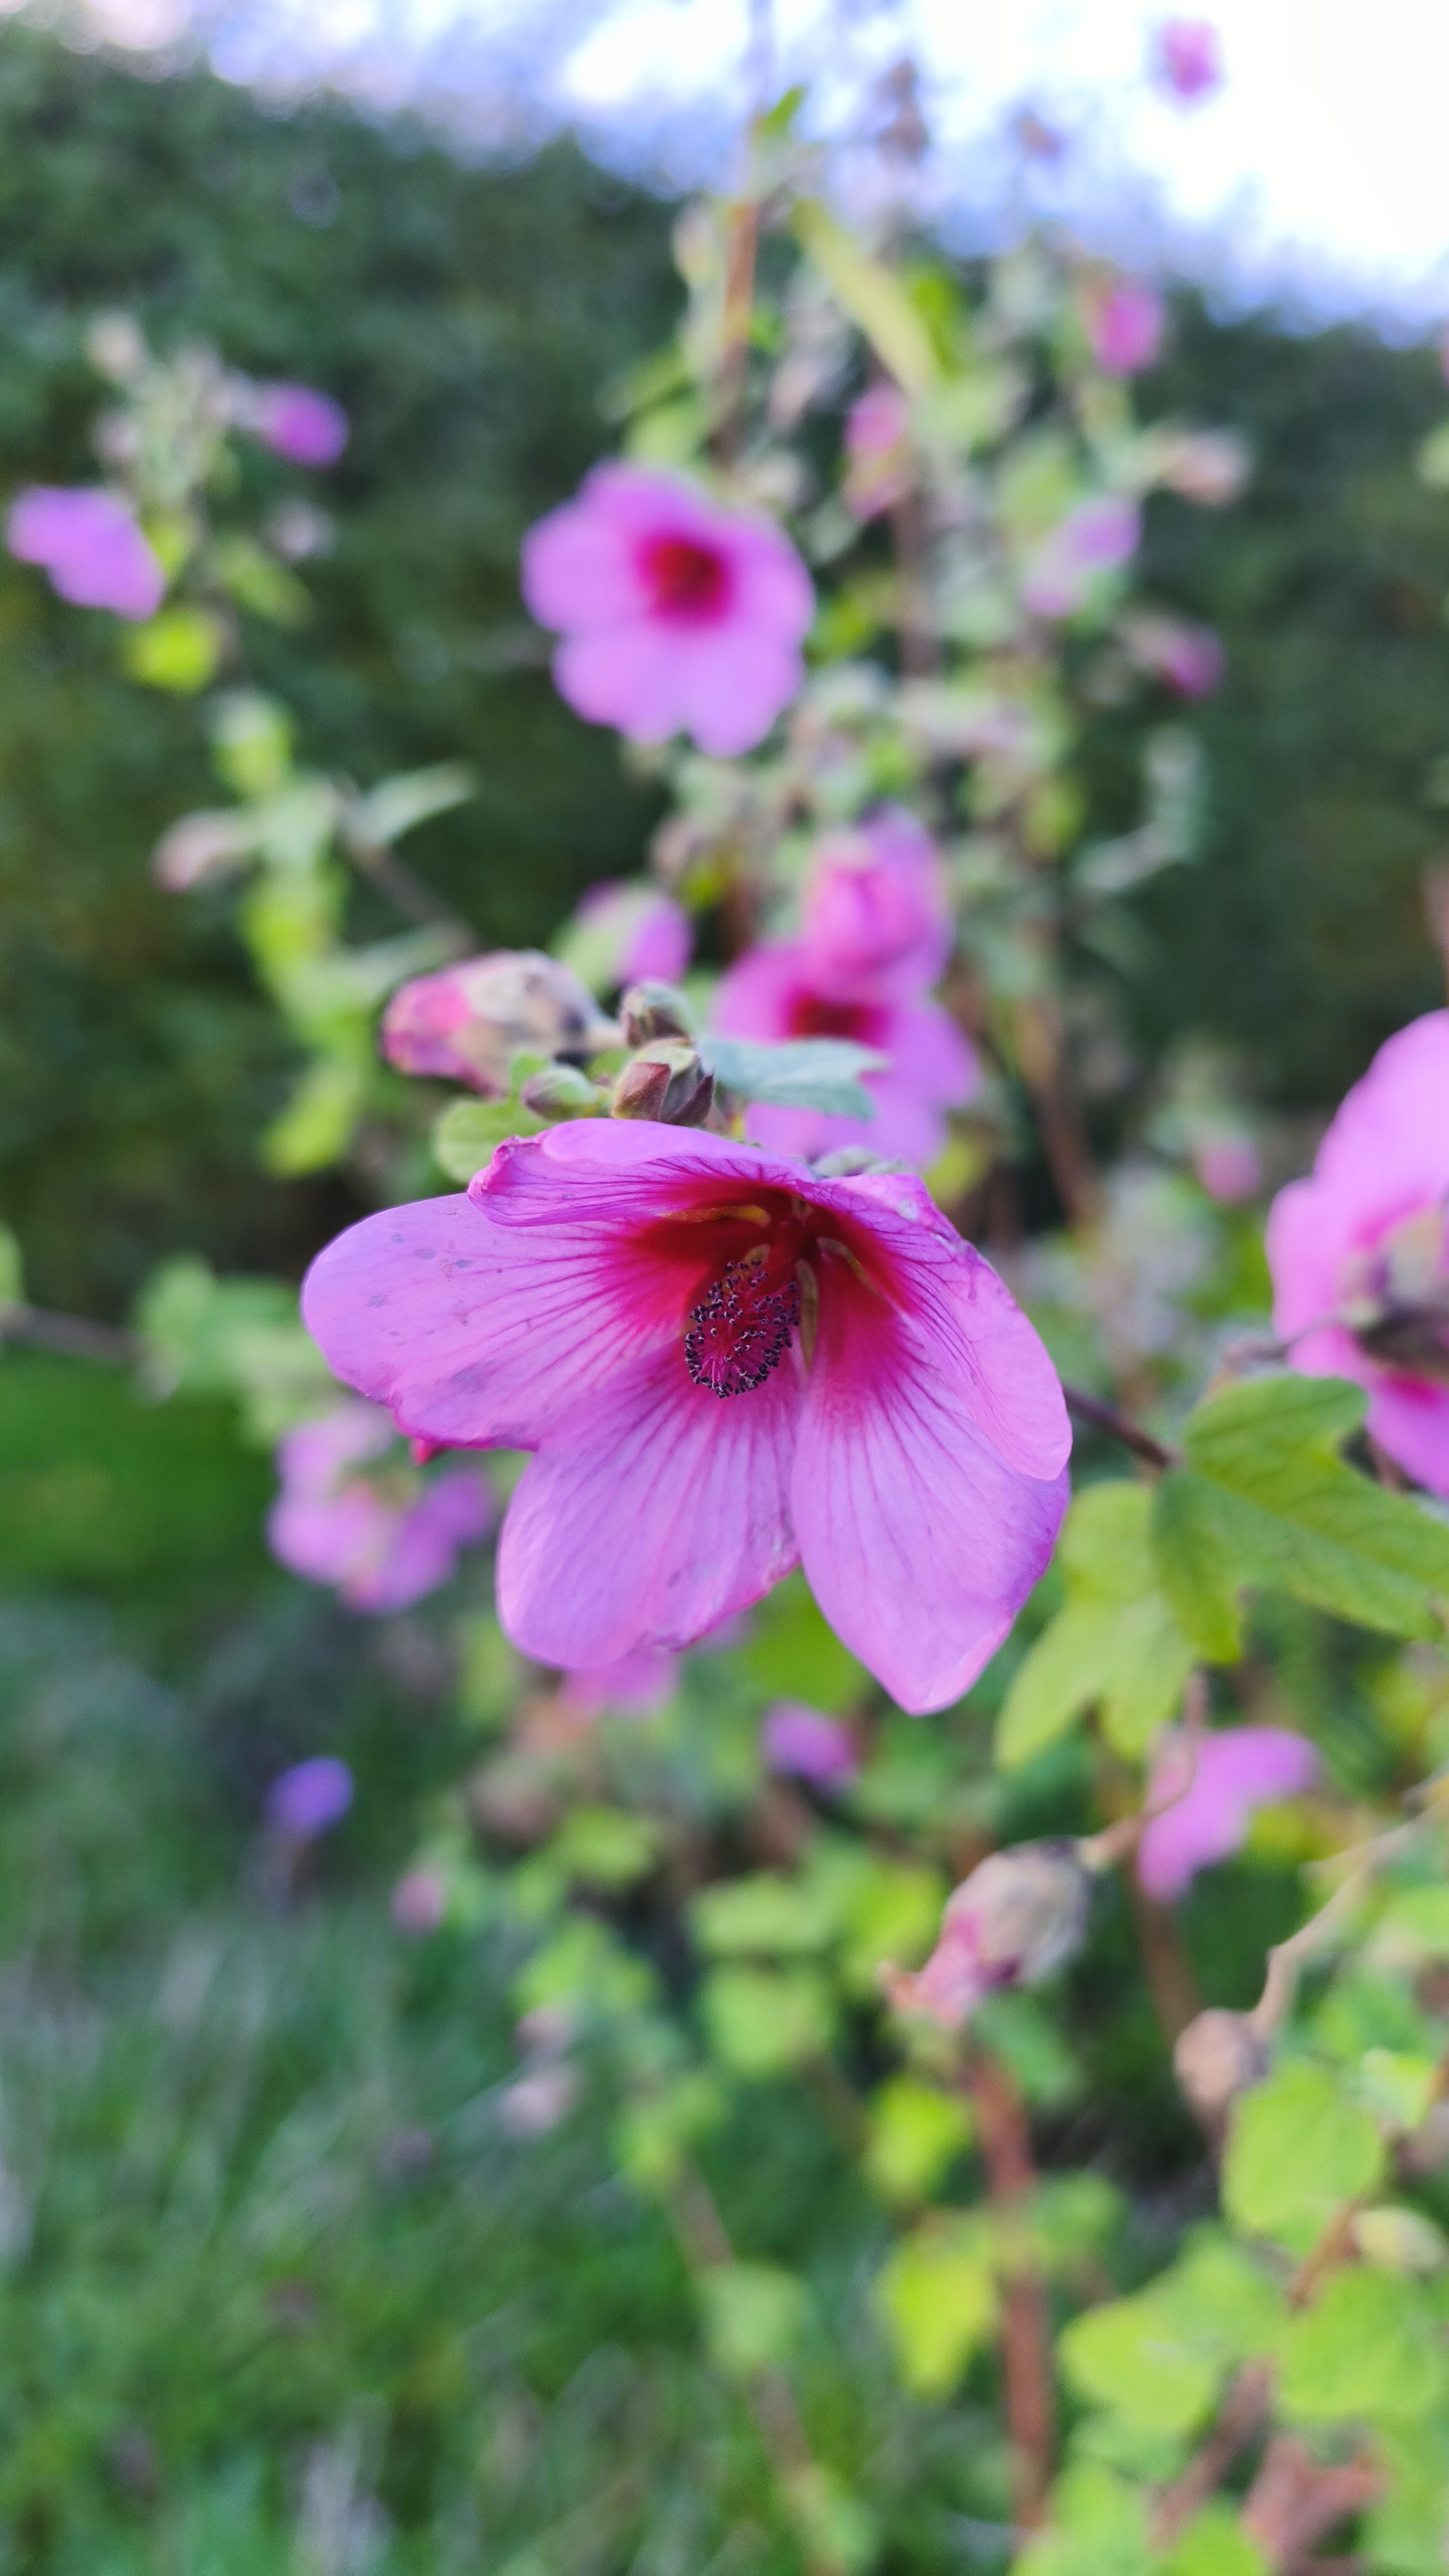
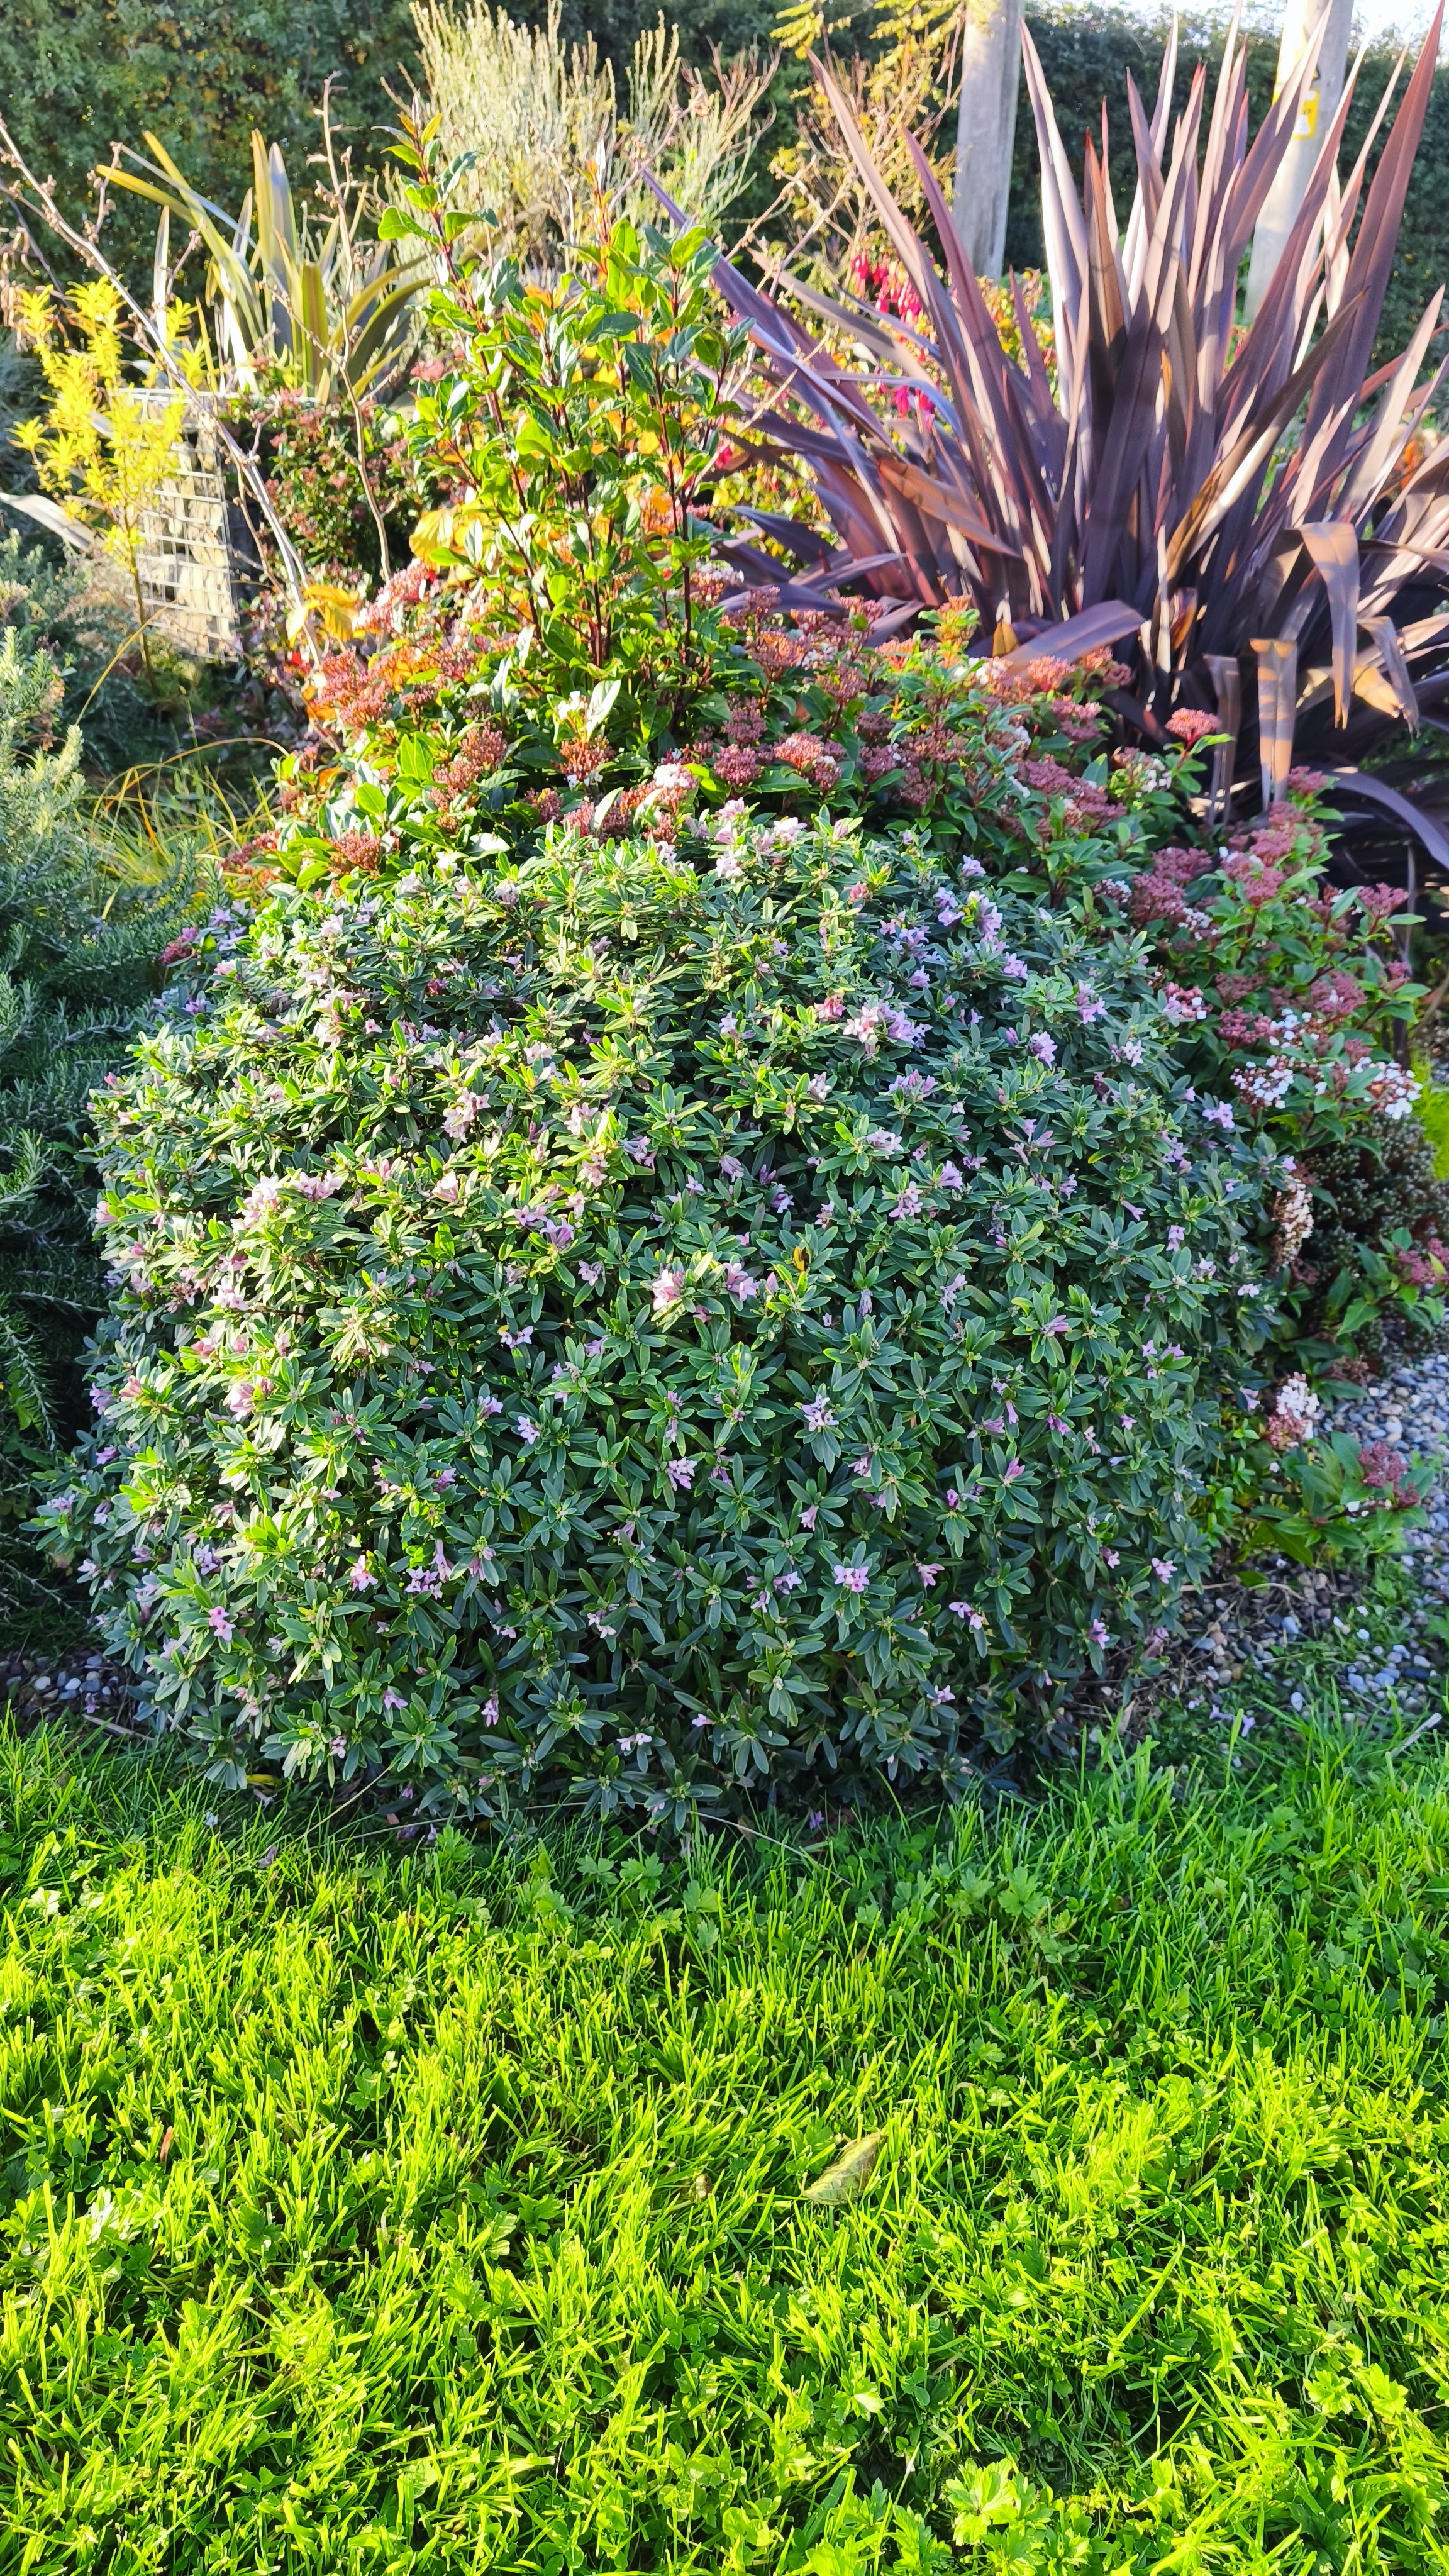
Daphne ‘Pink Perfume ‘ Parahebe ‘Pink Avalanche ‘OsteospermumSantolina ‘Lemon Fizz’Chamaectparis thyoides ‘?’Rosmarinus flowerPhormium ‘Chocomint’Phormium ‘Black Adder’ Hamamelis x intermedia ‘Aphrodite’View of planting scheme looking towards the “pylon”View of planting schemeView of planting scheme looking towards gravel gardenPhormium ‘Black Adder’ with Ficus carica ‘Ice Crystal’ turning autumnal yellow in distance.Ficus carica ‘Ice Crystal’ Ficus carica ‘Ice Crystal’ The area last winterThe area last winterHamamelis in flower in February Hamamelis in flower in February Photos of some of the other plants in the planting scheme and a few from winter last year
Below is a gallery featuring close ups of plants in the planting scheme, also a few others that are not mentioned in the videos.
I have also included some photos of how it looked last winter.
I removed a central plant in the scheme, Nipponanthemum.nipponicum, because it was not doing well, and replaced it with Ageratina ligustrina.
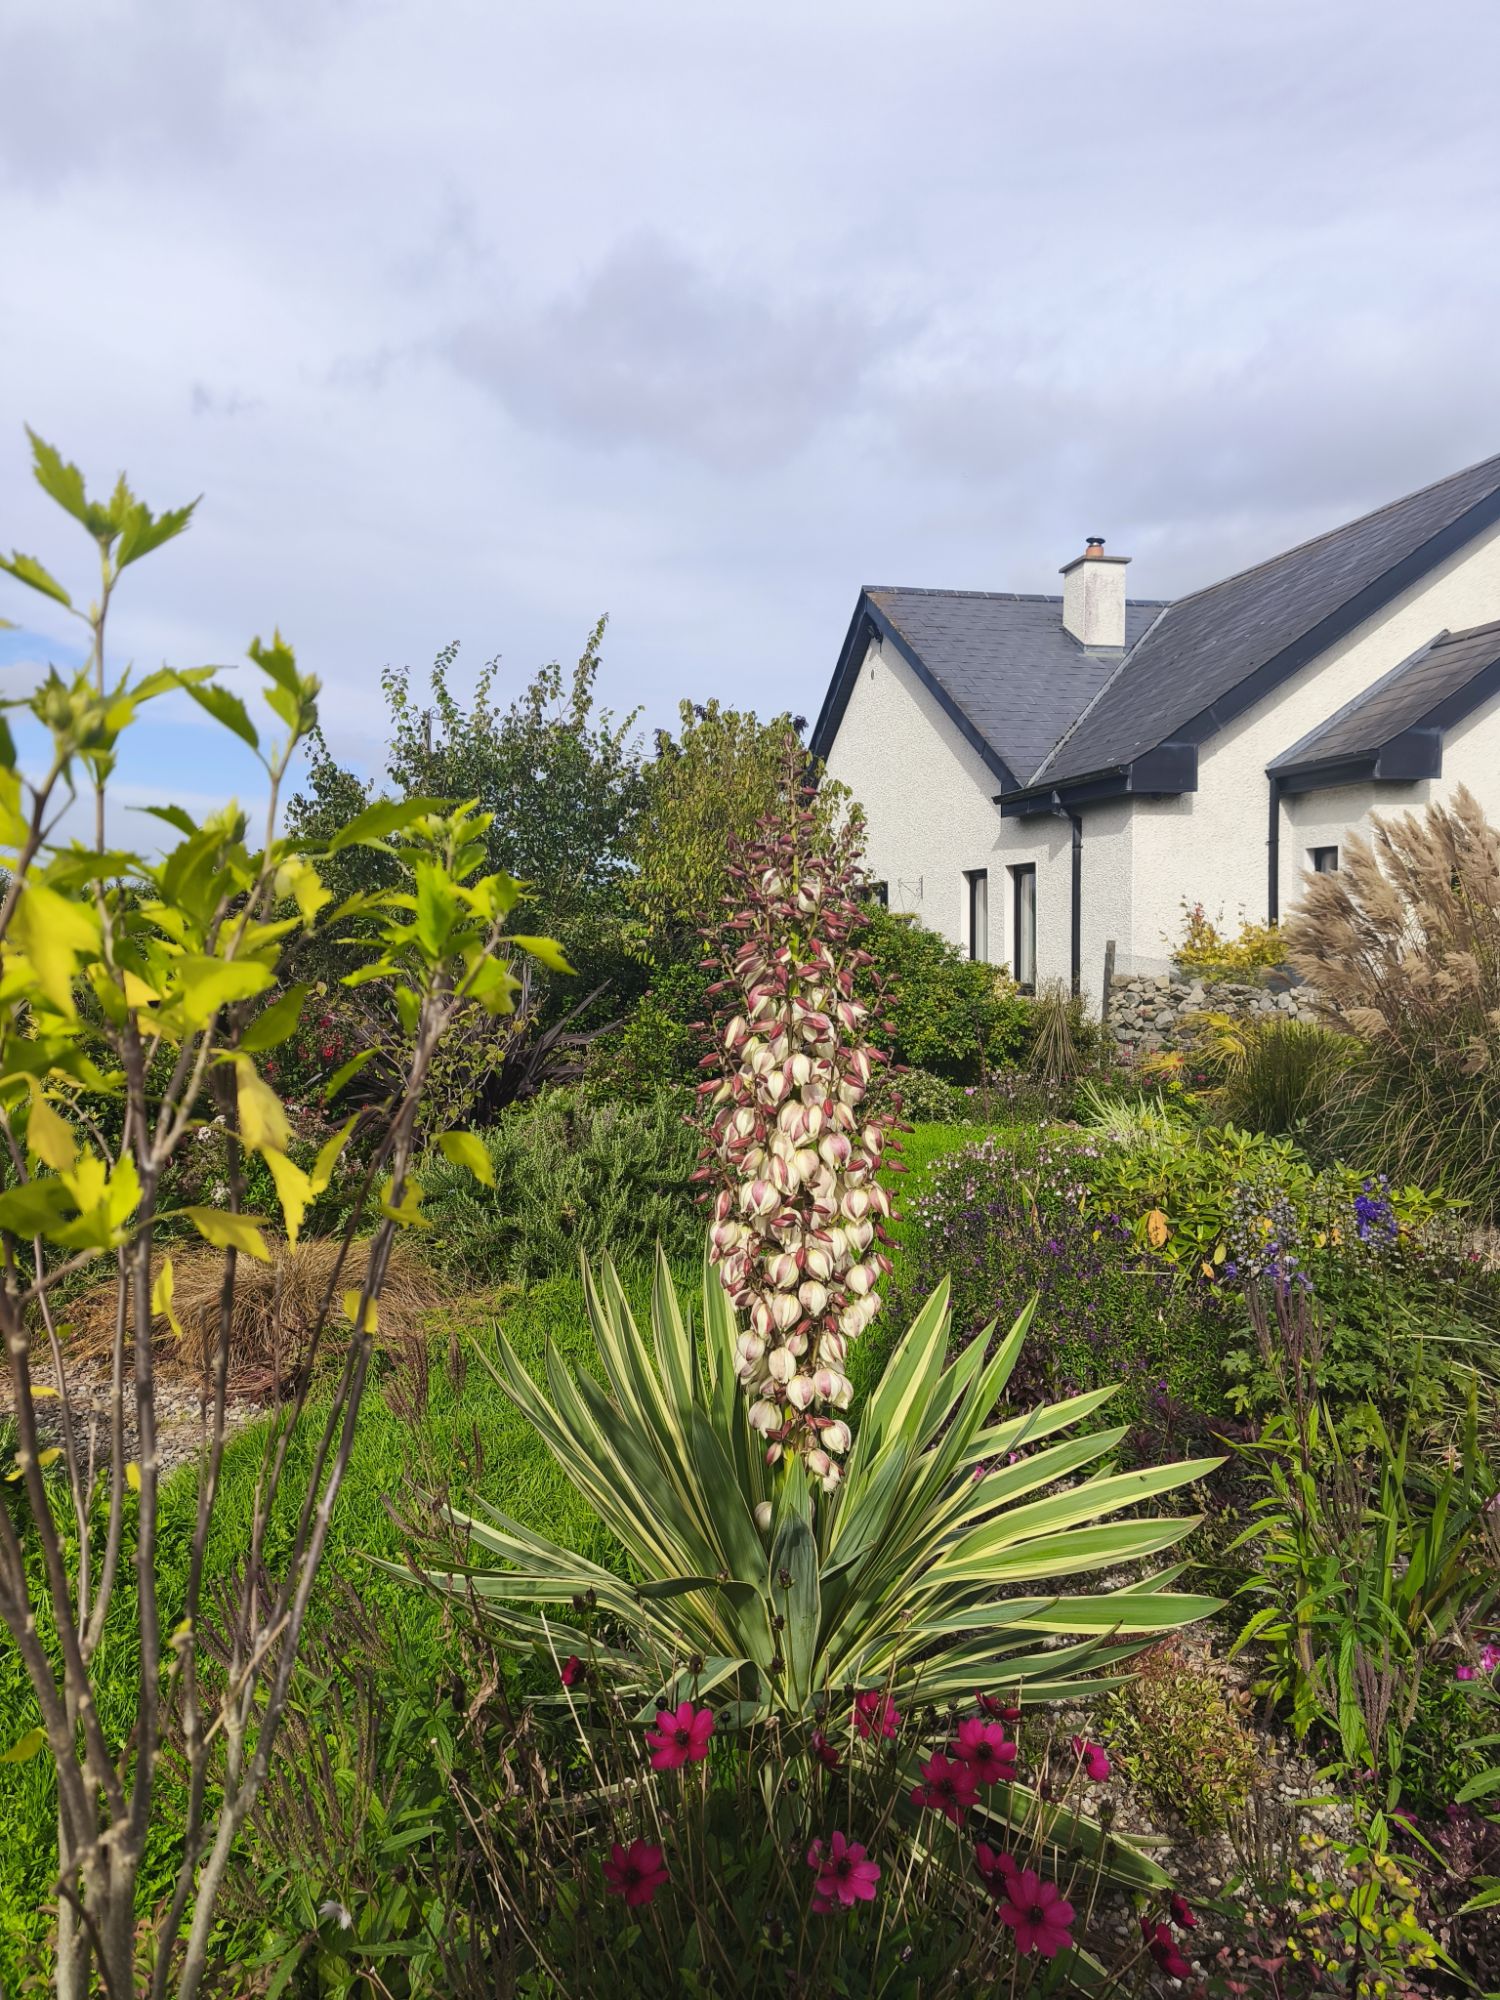
Here are a collection of photos from the garden this September.
It has been a wet and windy month so far, but the garden is looking good.
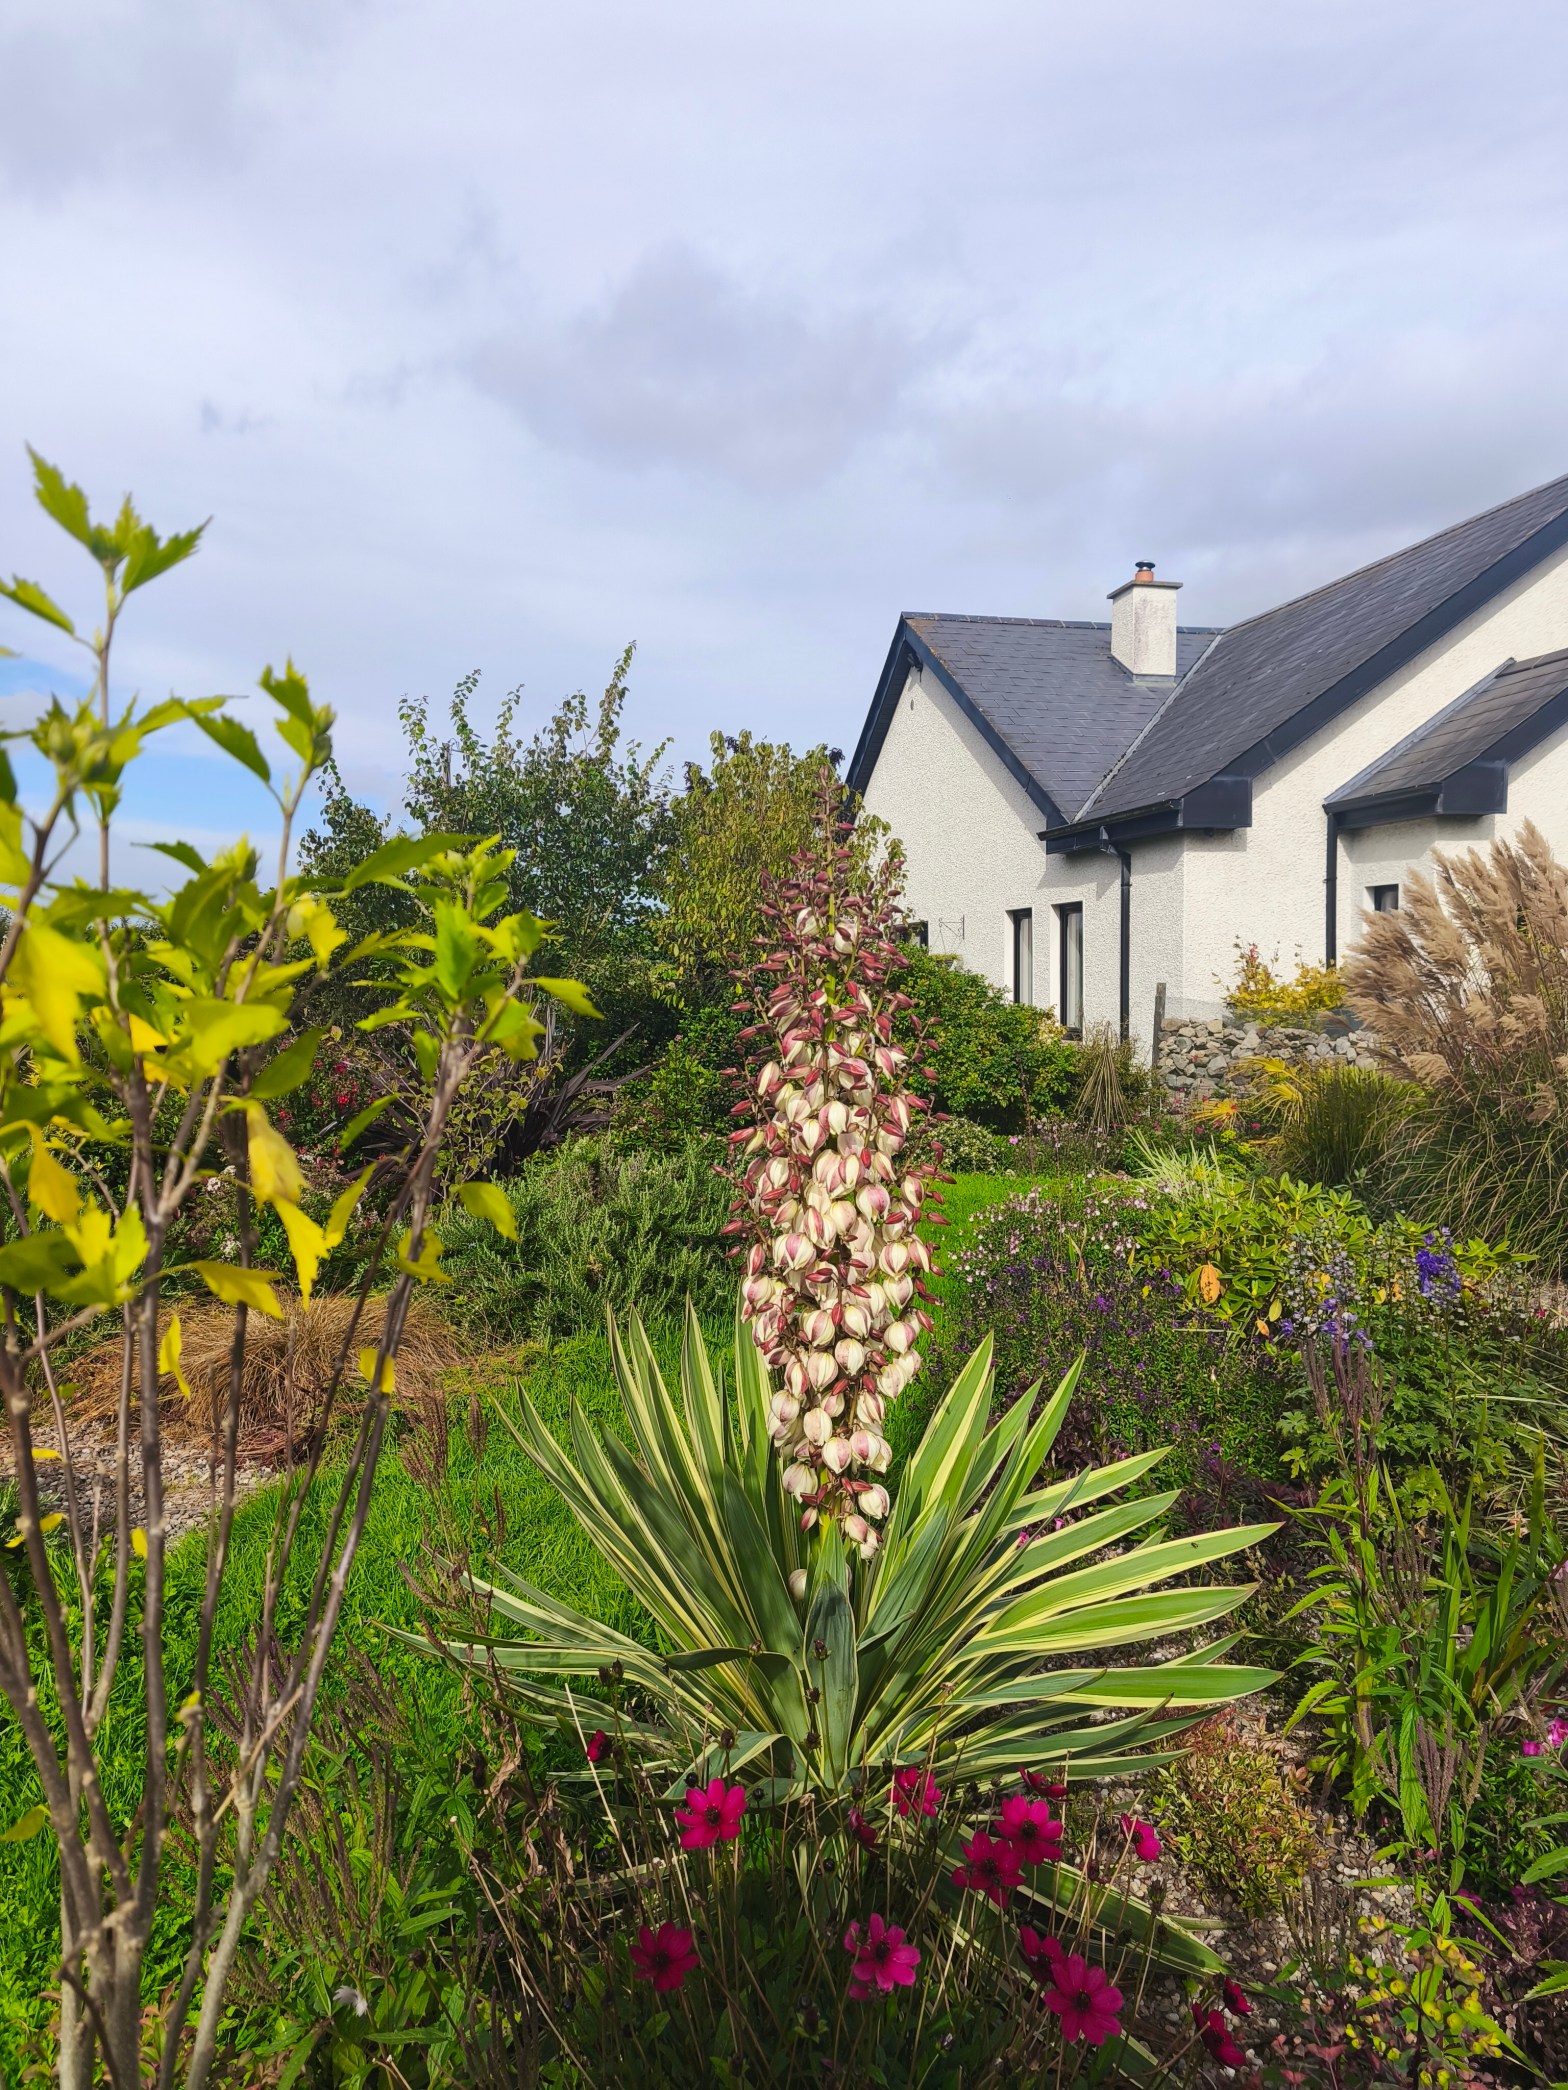
The star of the show so far this month is Yucca gloriosa ‘Silver Bont’.
Where you seeing the 🎥 symbol there is a short video with information about the plant. Click on the caption to open it.
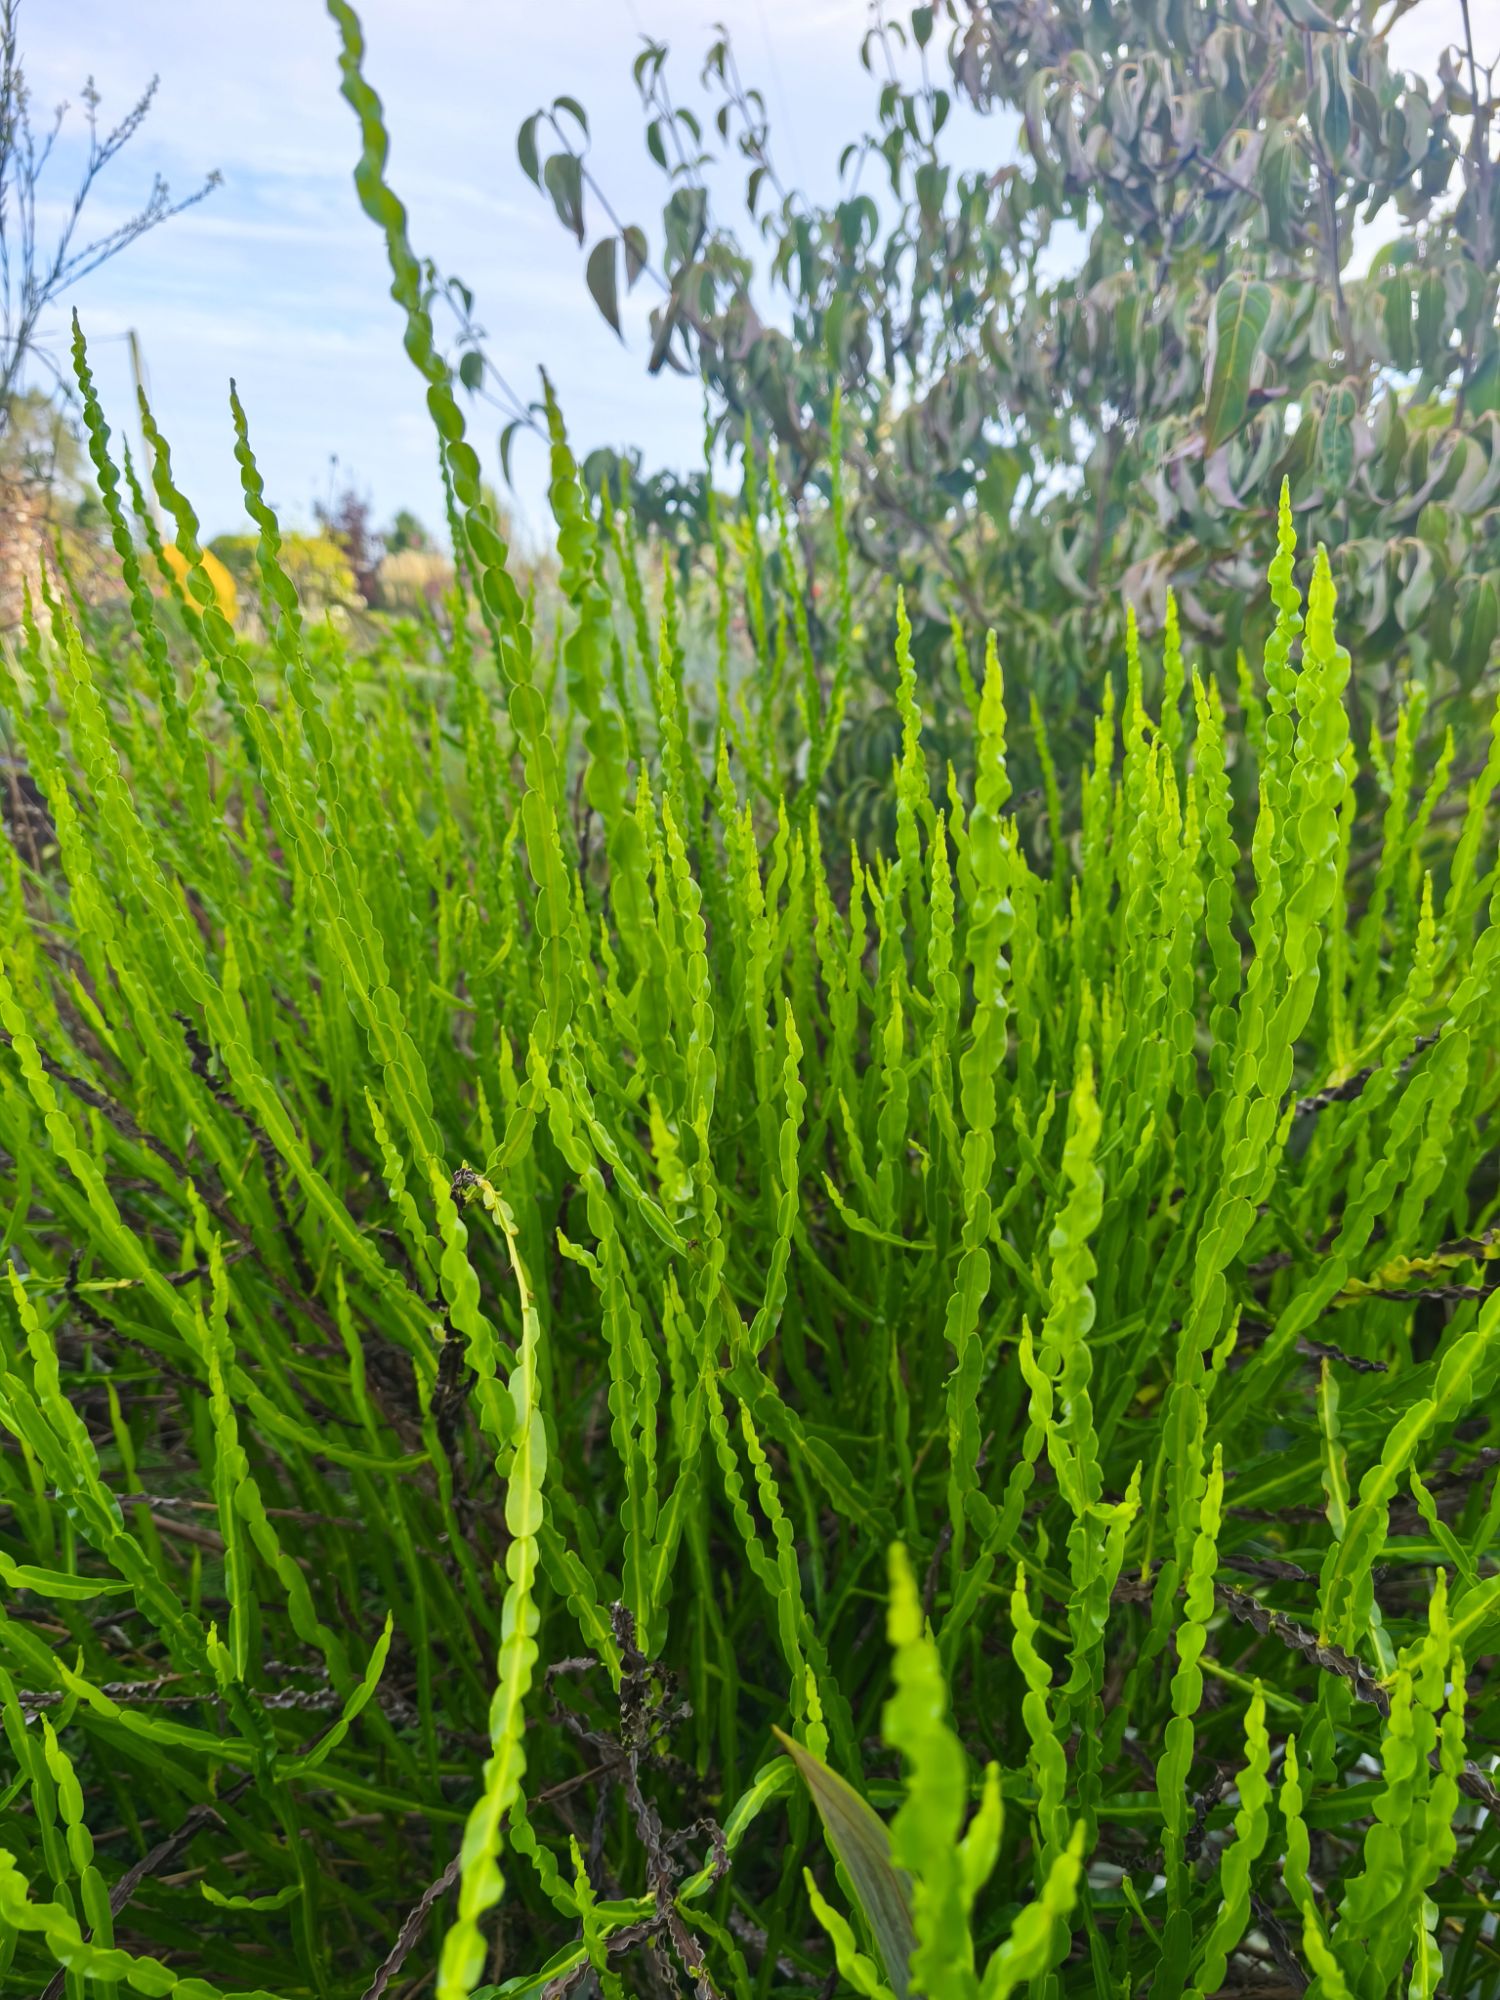
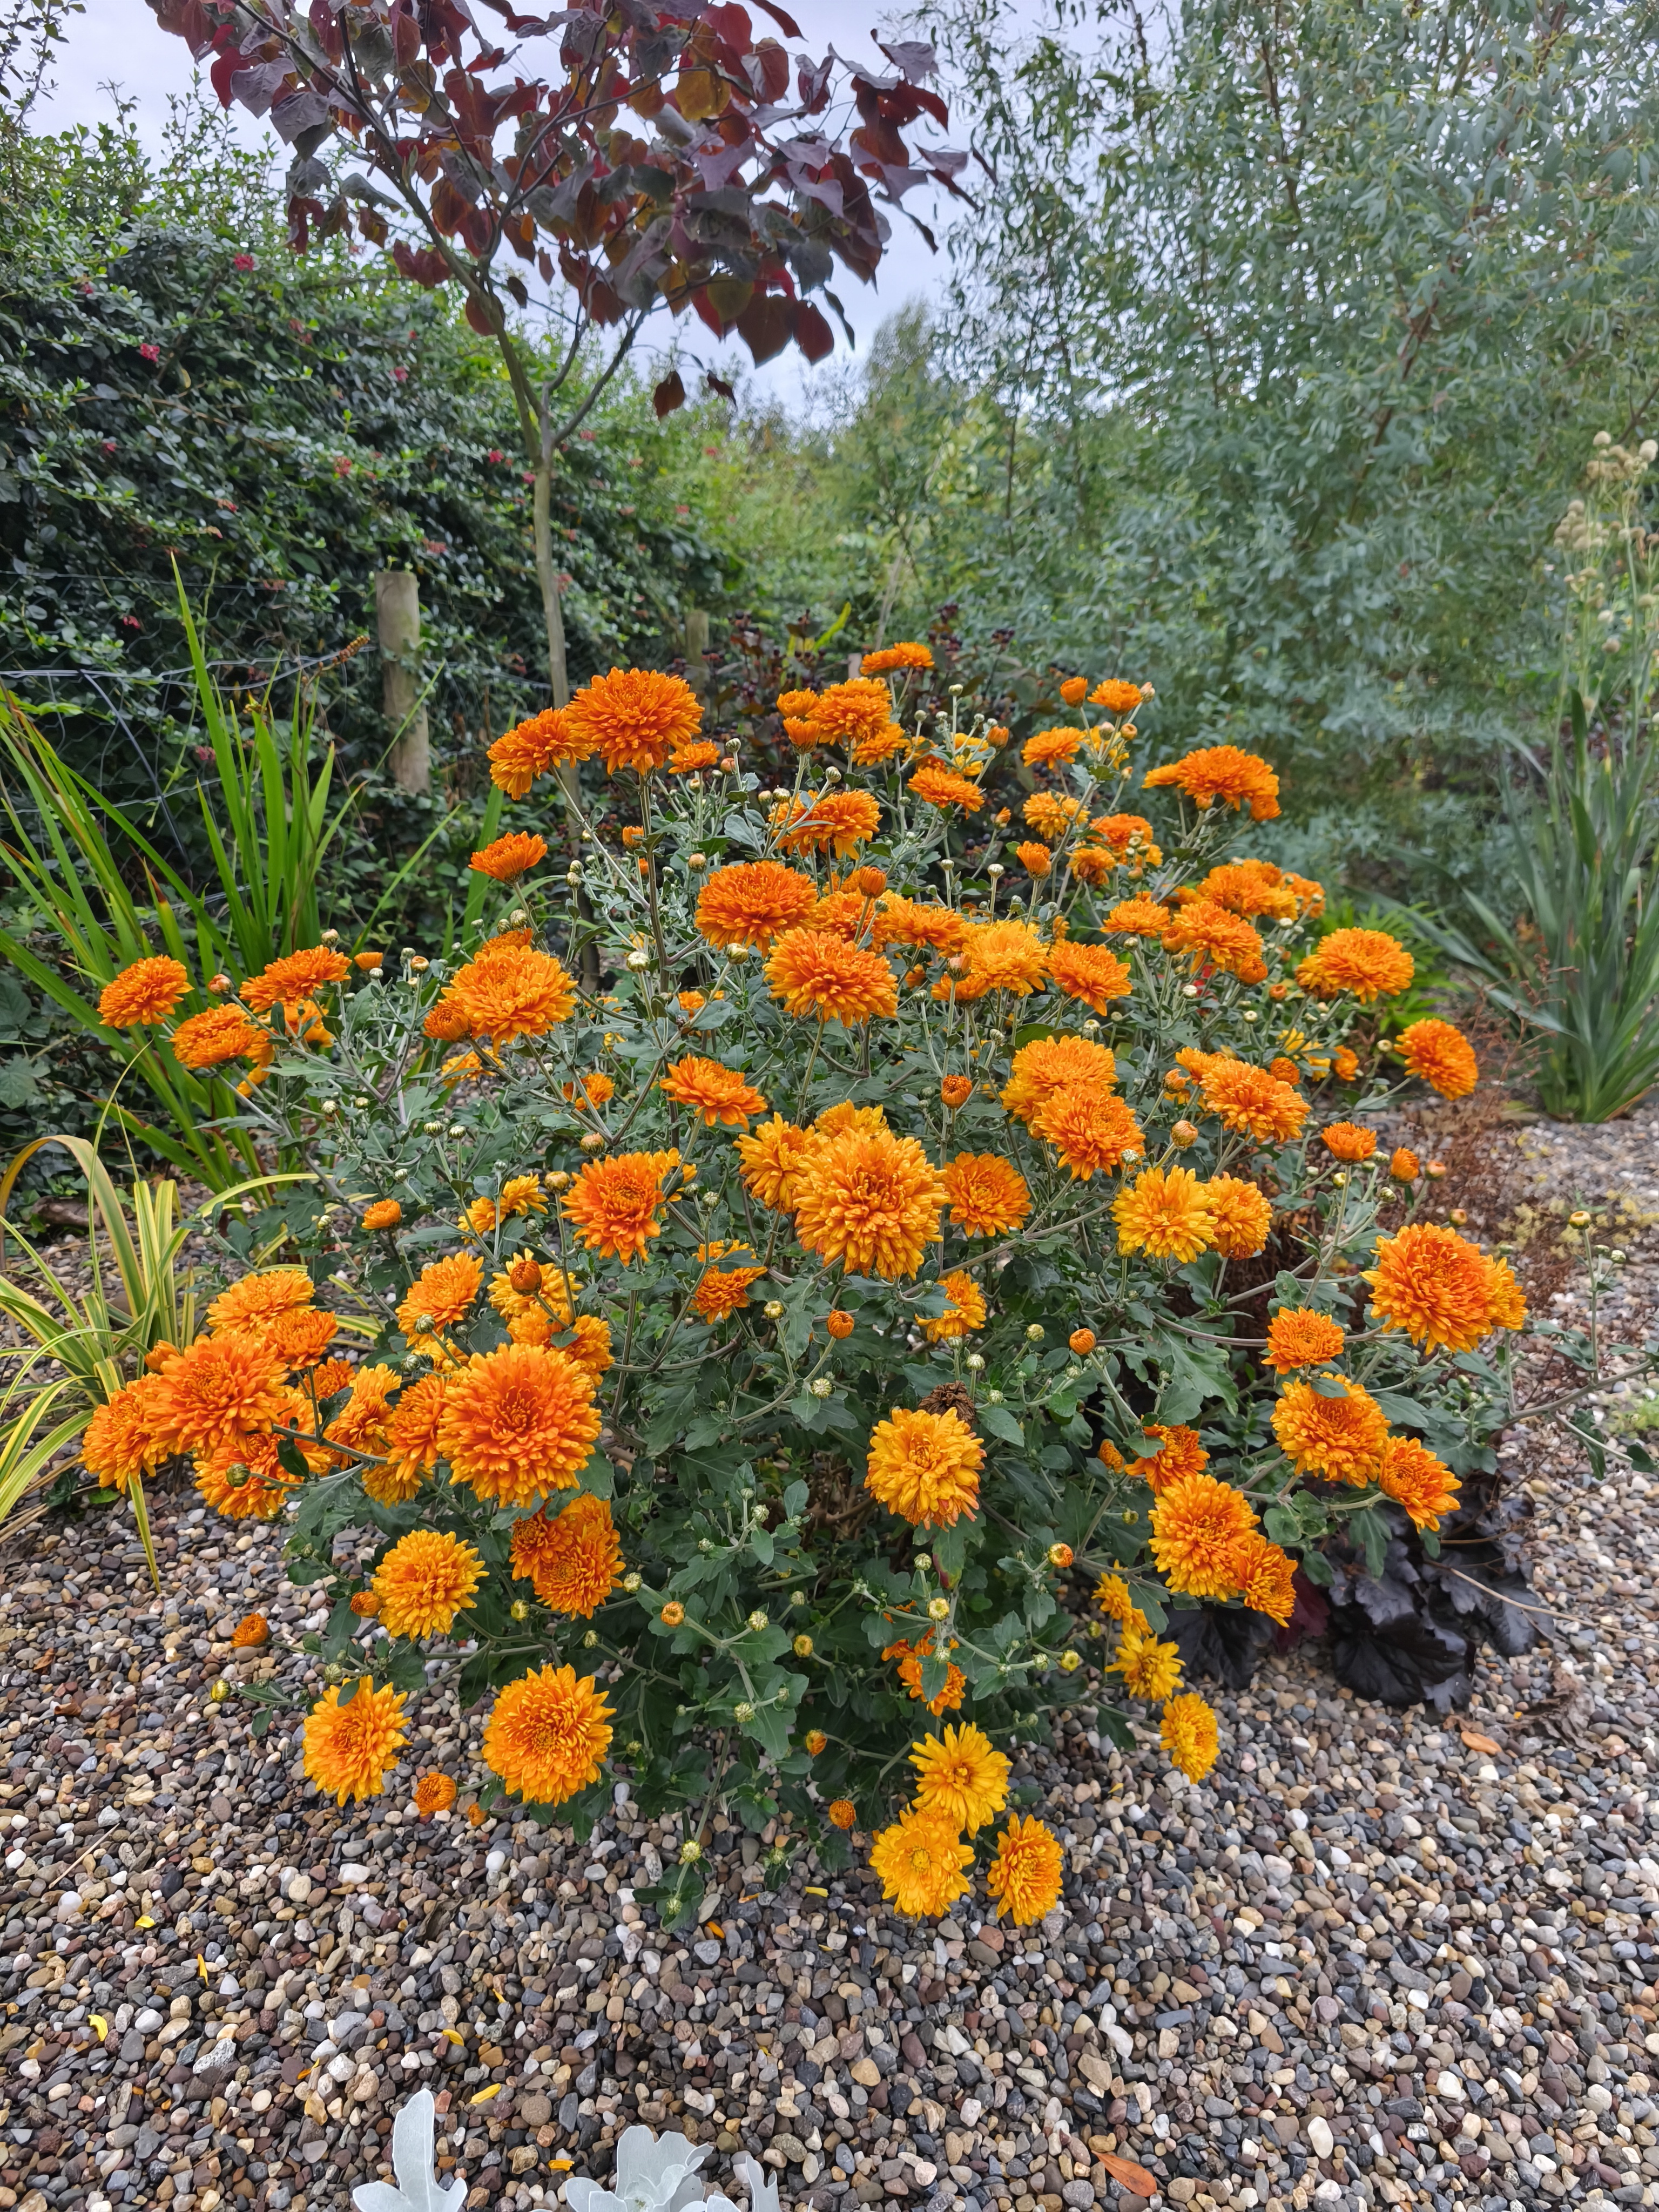
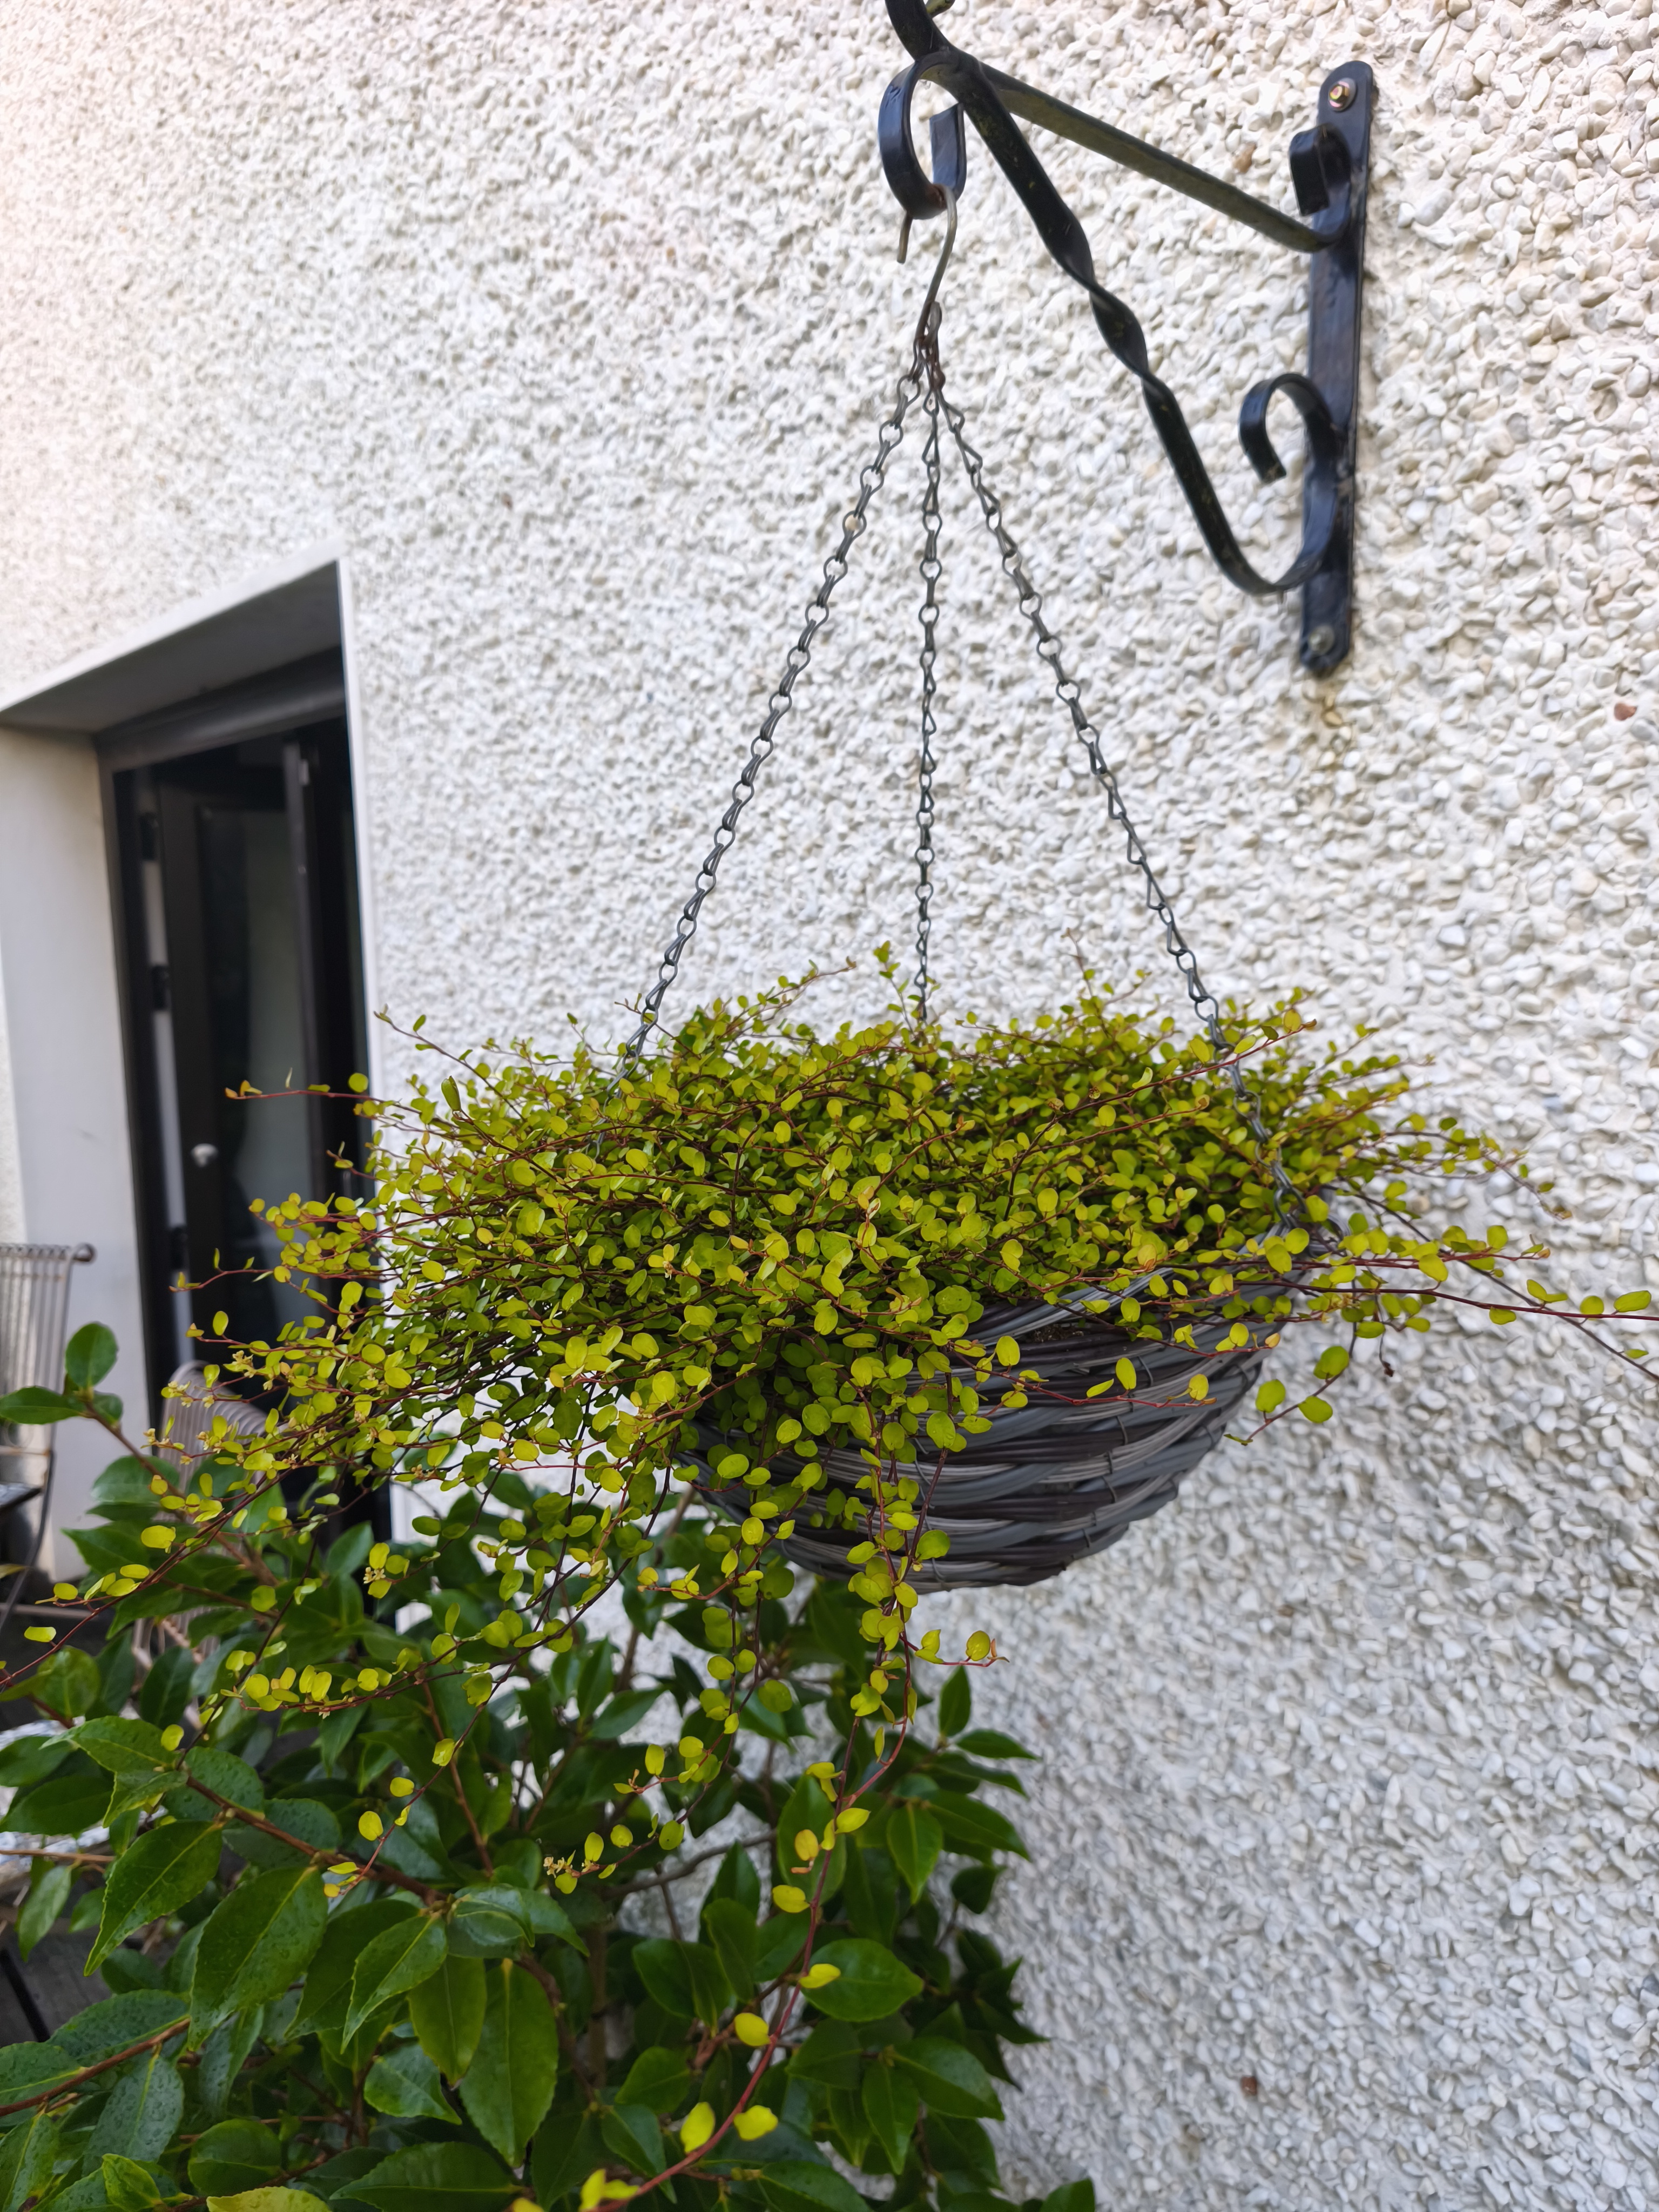
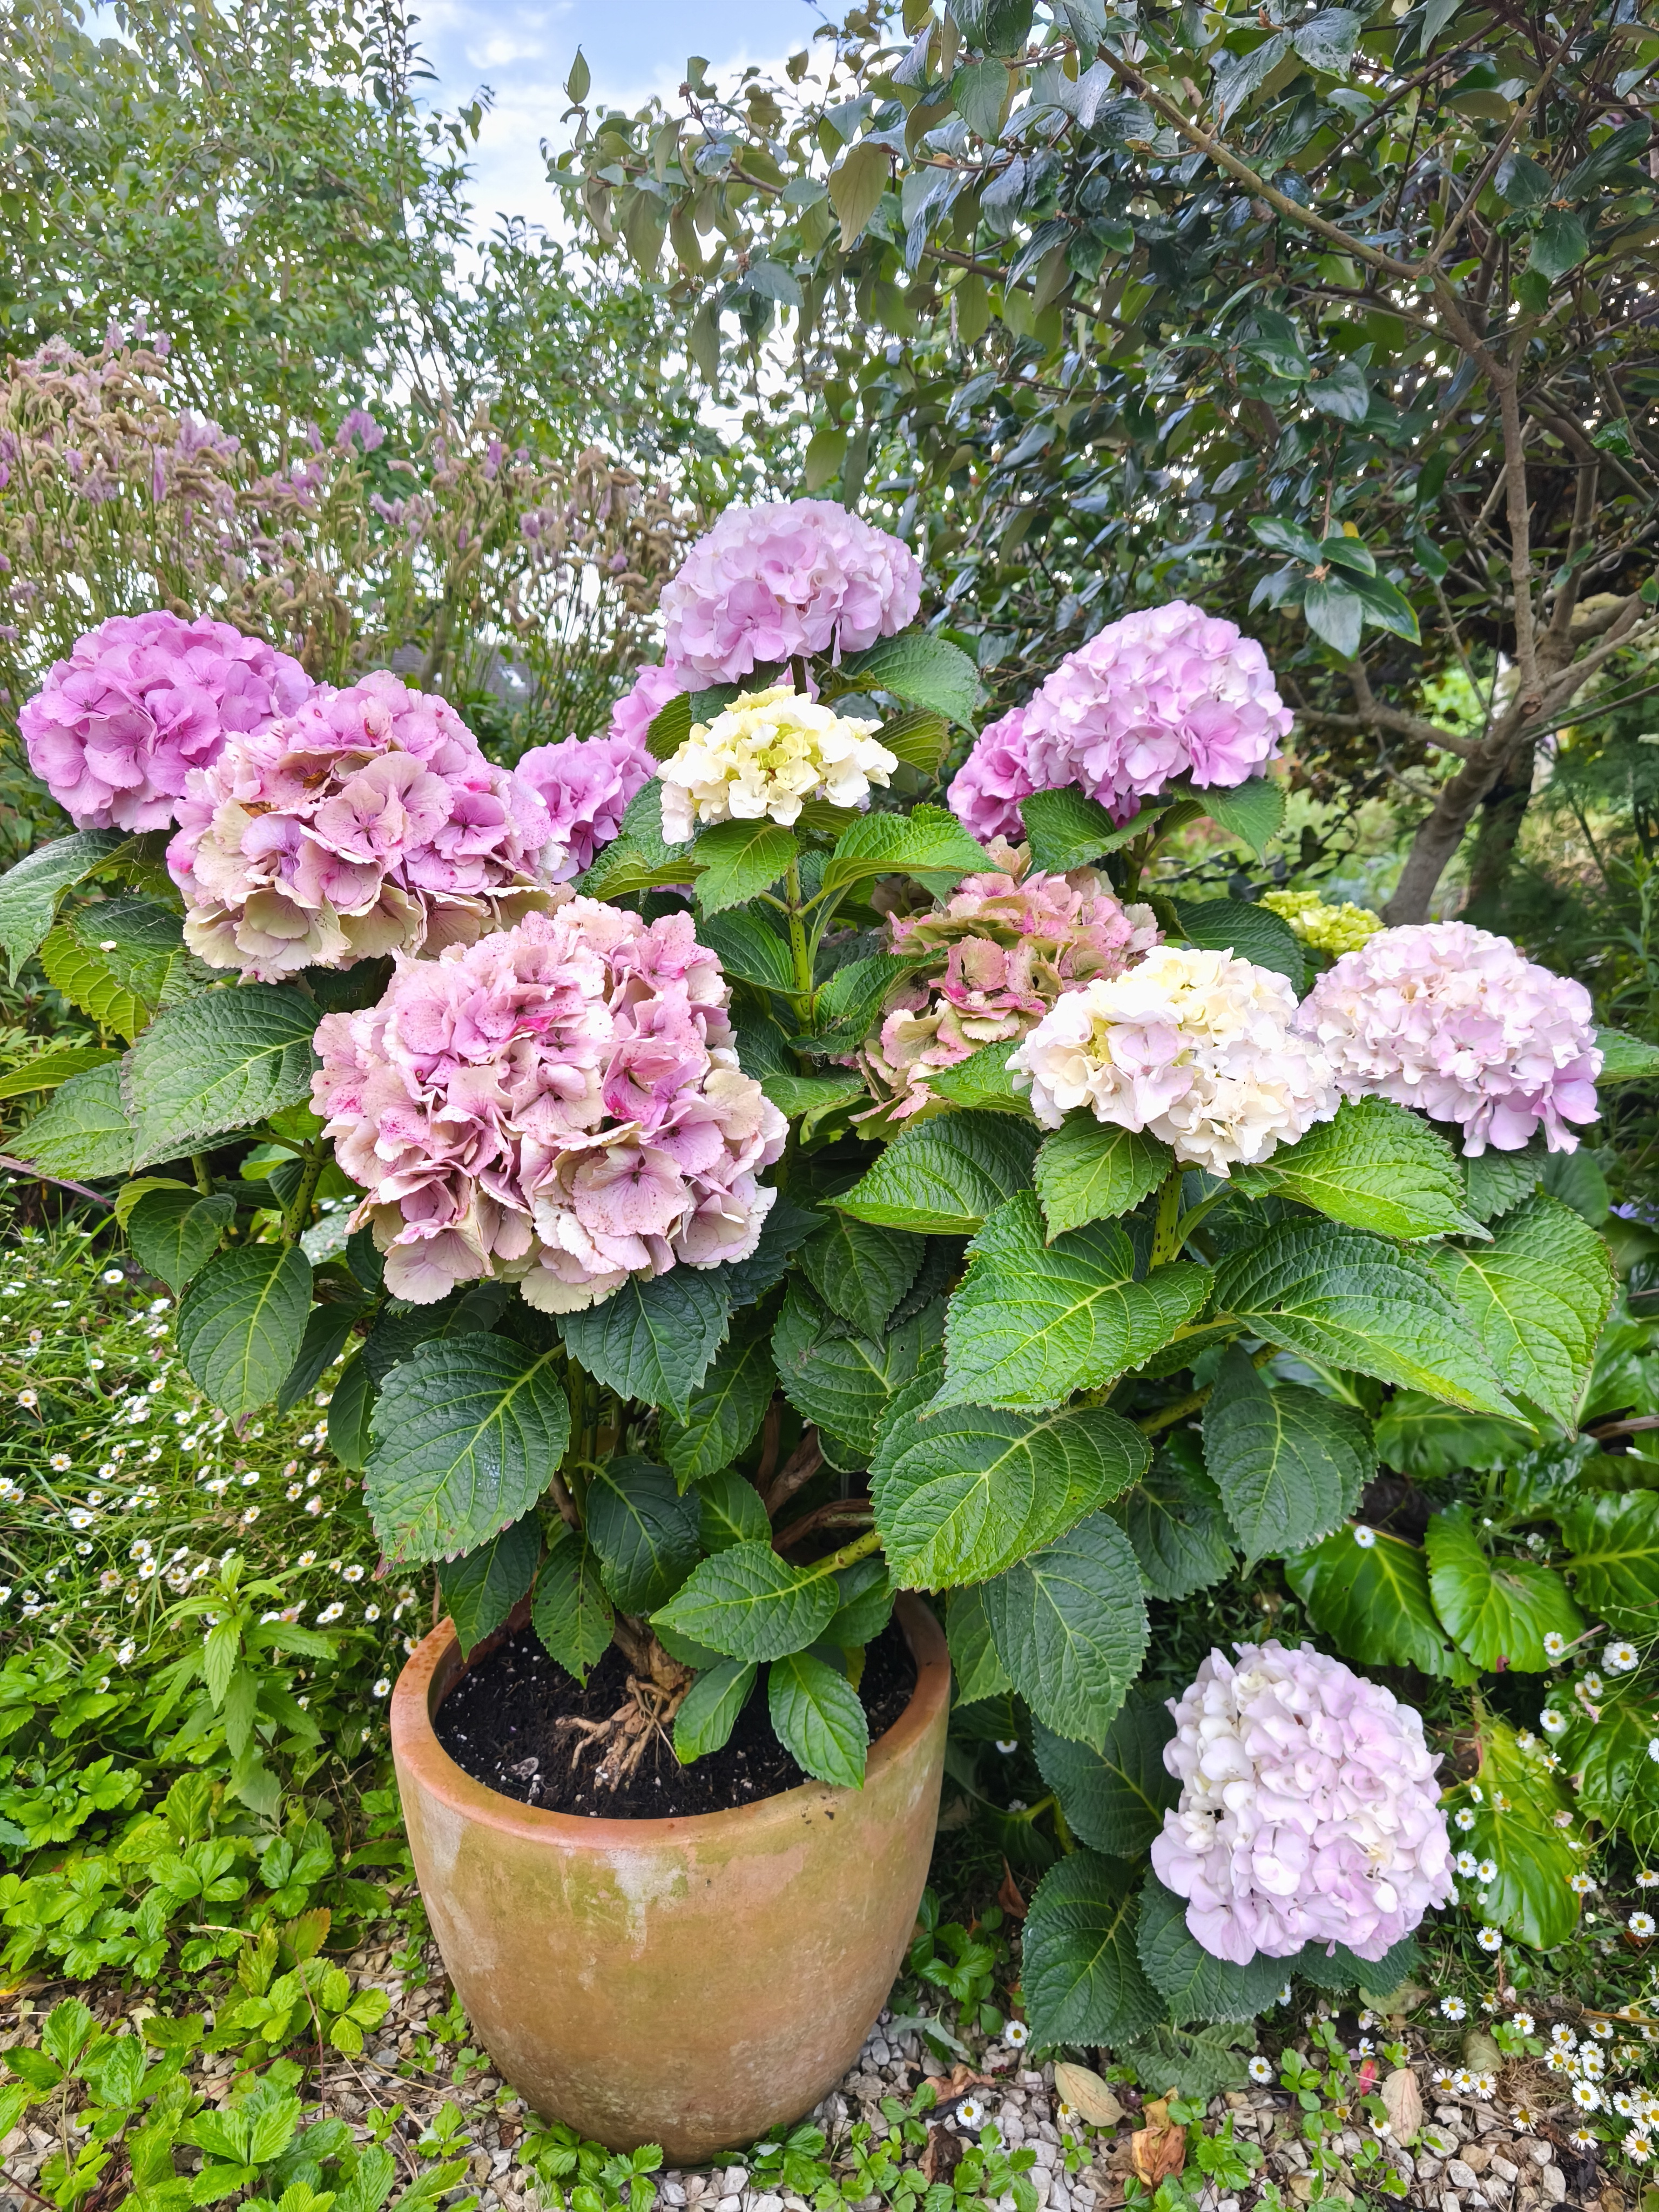
Baccharis genistelloides MORE PLANT INFO video 🎥YUCCA GLORIOSA ‘SILVER BONT’ 🎥 videoPHORMIUM ‘BLACK ADDER’SALVIAKNIOHOFIA PYROMANIA ‘SOLAR BLAZE’VIBURNUM CYLINDRICUMVIEW FROM BACK OF GRAVEL GARDENYUCCA GLORIOSA ‘SILVER BONT’CHRYSANTHEMUM ‘DIXTER ORANGE’CALENDULACRINUM X POWELLIIEupatorium capillifolium ‘Elegant Feather’ 🎥 videoMiscanthus ‘Serengeti’ YUCCA GLORIOSA ‘SILVER BONT’ 🎥Fire pit gardenFire pit gardenFARFUGOUM JAPONICUM ‘GREEN GIANT’MUEHLENBECKIA ‘GOLDEN GIRL’ IN HANGING BASKET’MUEHLENBECKIA ‘GOLDEN GIRL’ IN HANGING BASKET’MUEHLENBECKIA ‘GOLDEN GIRL’ IN HANGING BASKET’HYDRANGEA FUSIONHYDRANGEA ‘FUSION’Dwarf Betula seedling with water featureLush garden full of diverse plants and greenery, showcasing vibrant colors and textures.
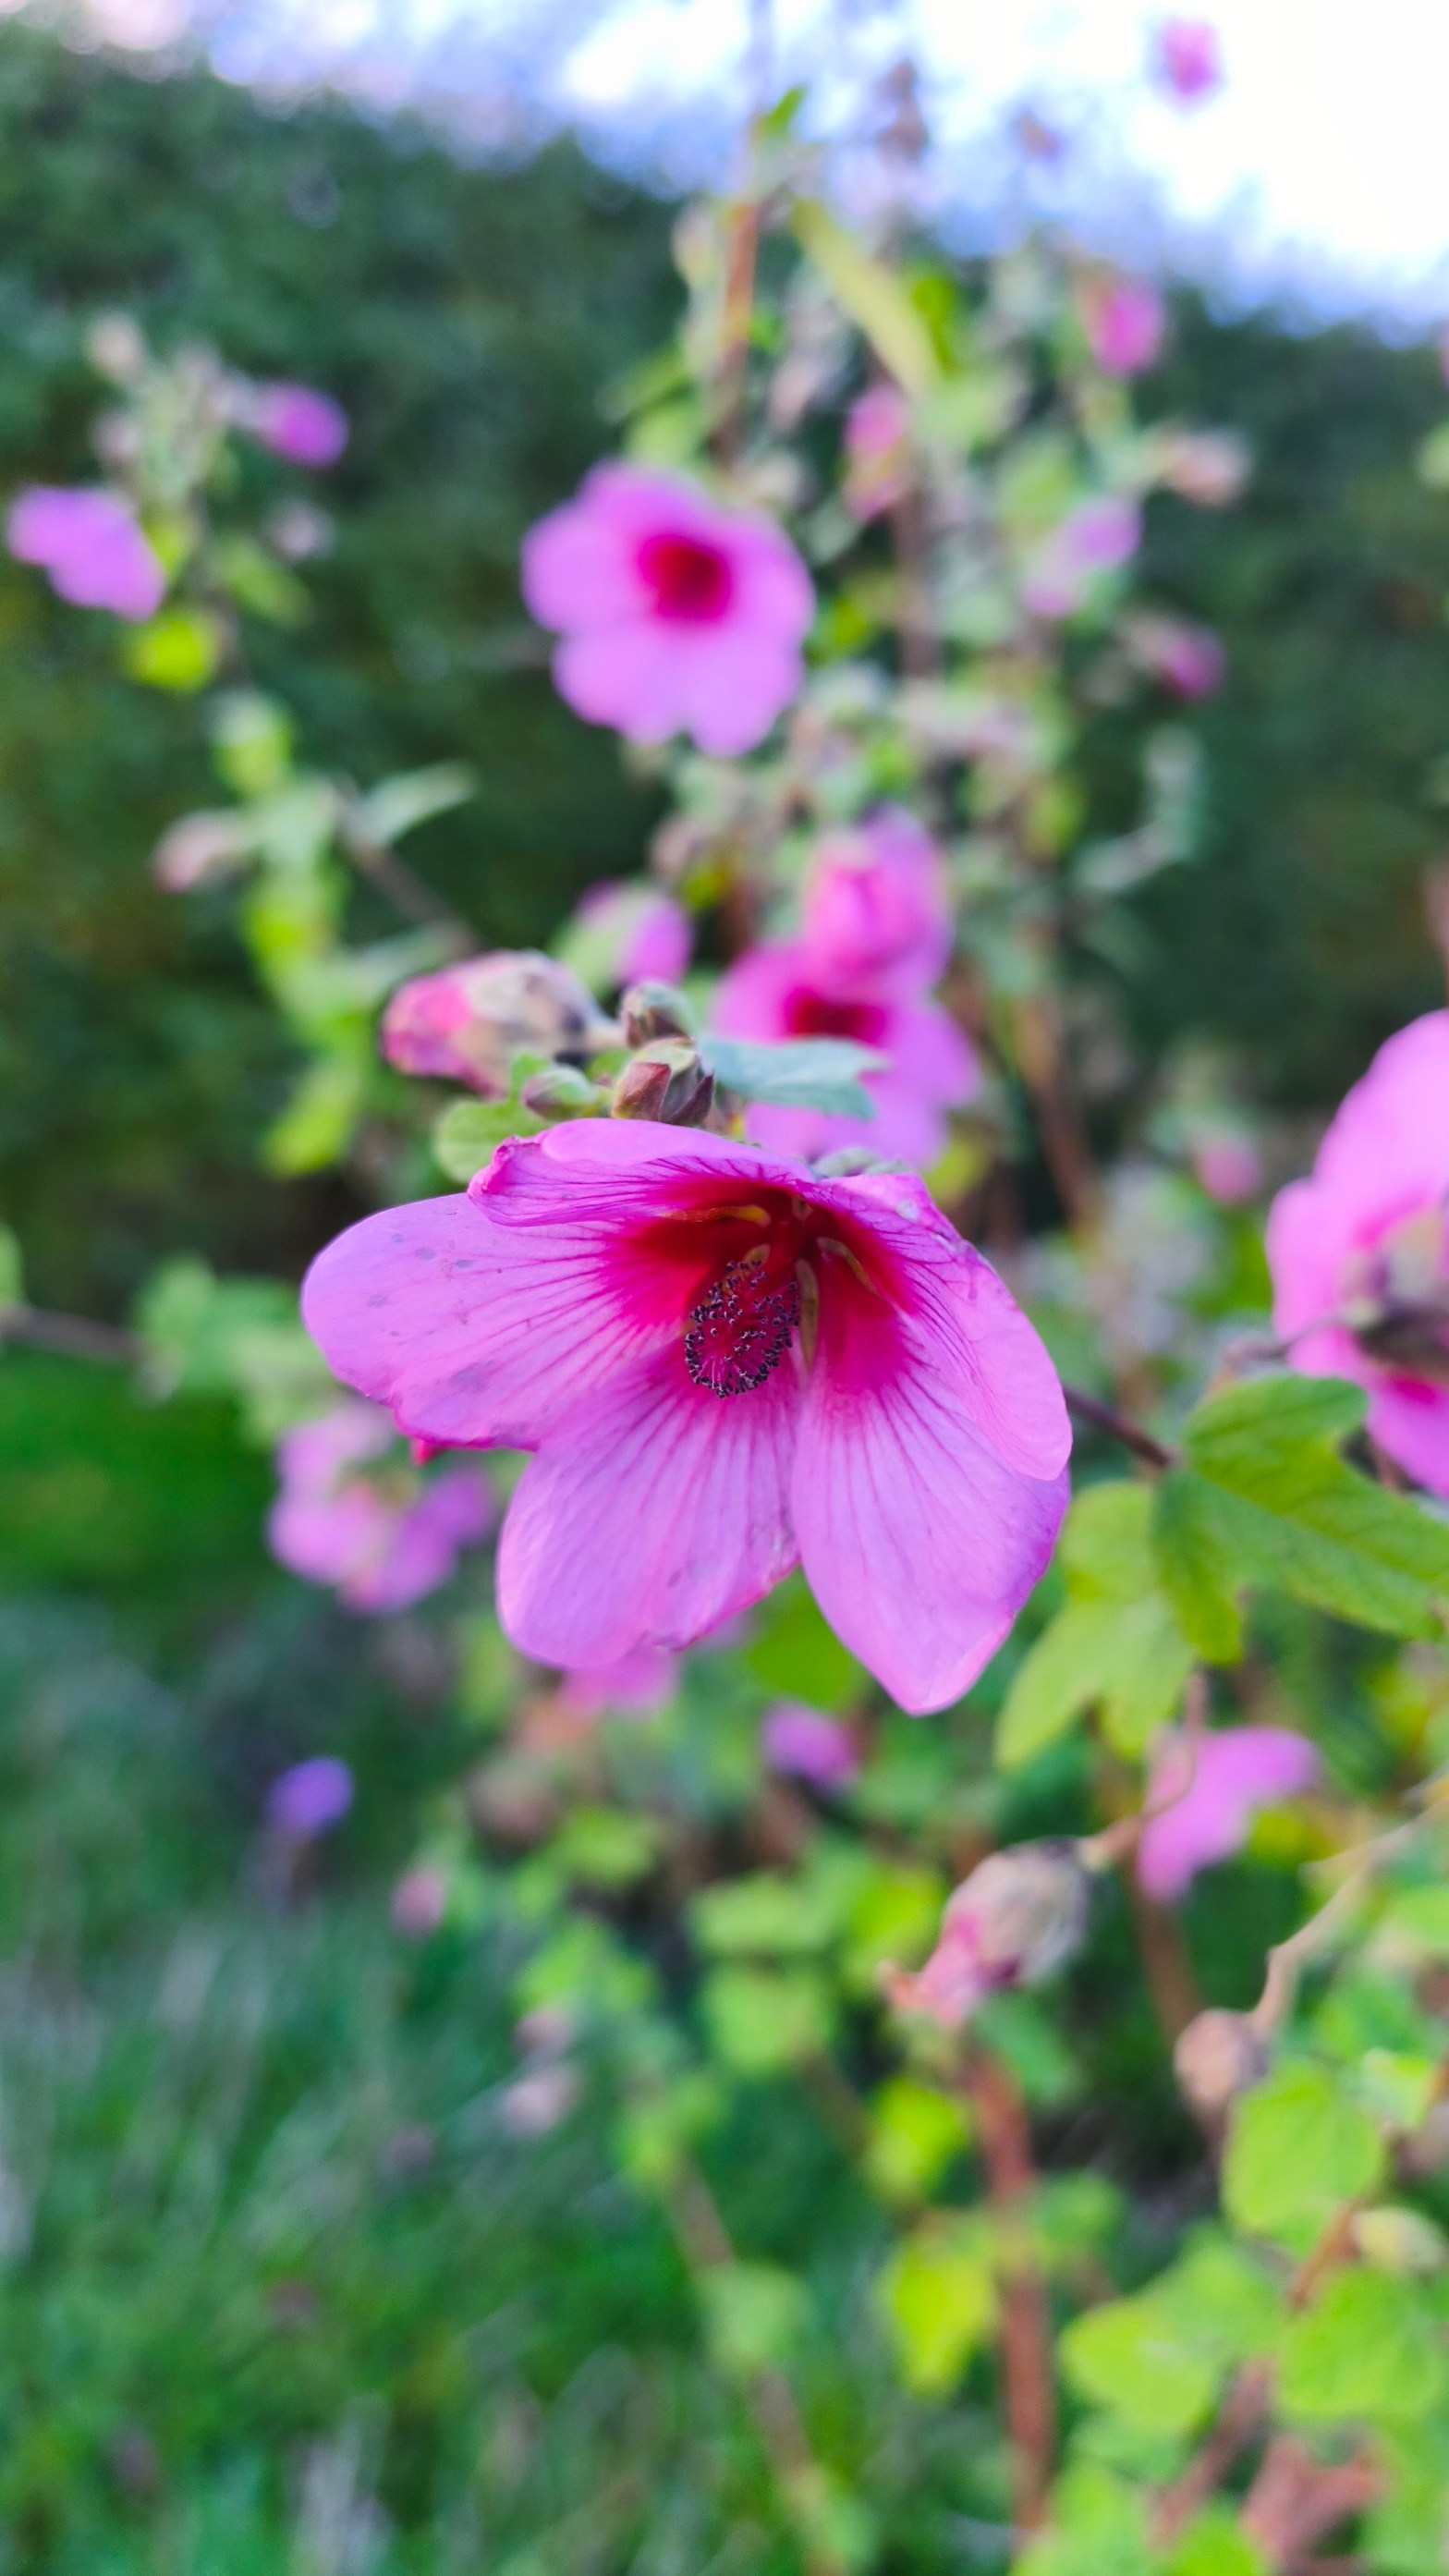
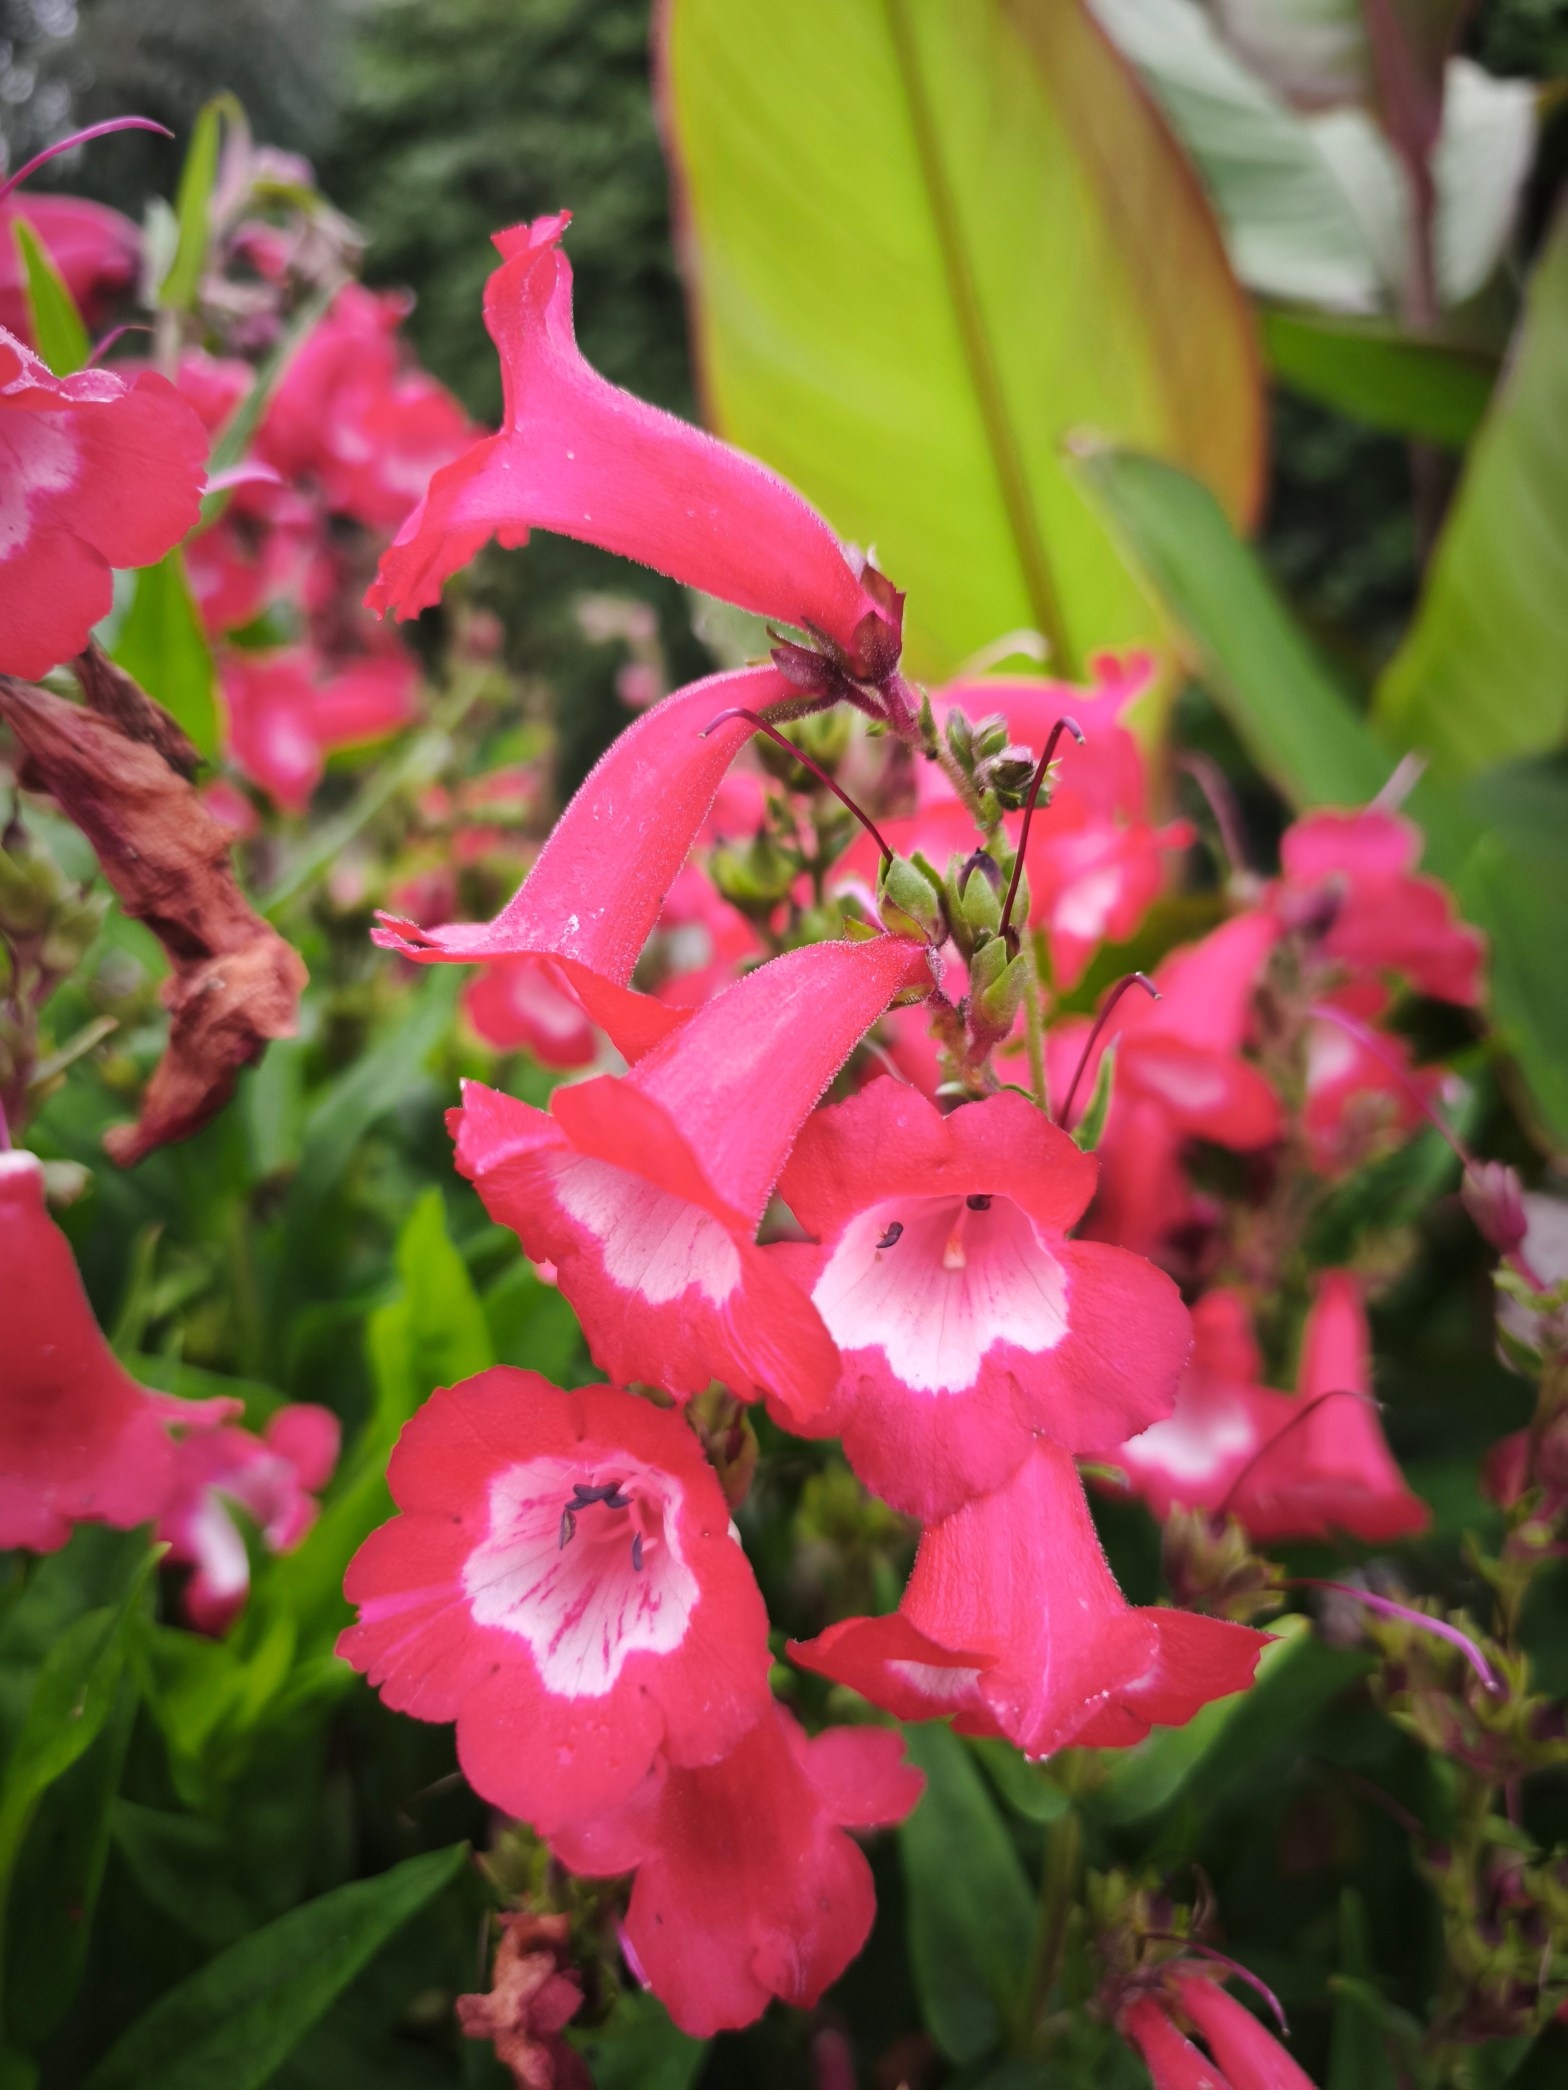
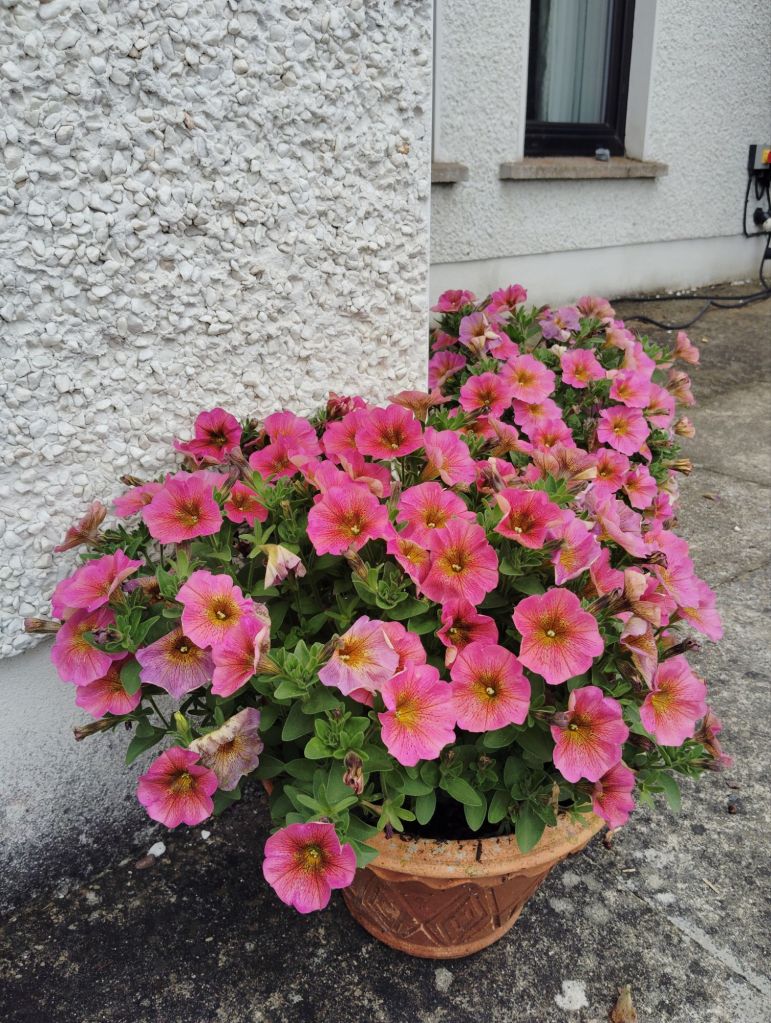
These are super plants for adding an extra blast of colour to the garden in the late summer season, they will continue flowering until October and They started flowering in June. This series has big flowers on compact sturdy plants, making them great for not just filling gaps, but also for smaller gardens and even containers. #ciaranthegardener #plantinspiration #gardening #gardeninspiration #gardeningtips #containergardening #hardyplants
It is always a delight to have some colourful blooms in October as the days get shorter and cooler, it helps make the winter feel shorter.
Justt a few minutes walking around the garden on a sunny morning in late October can really lift the spirits, and the spirits are raised higher with beautiful blooms to admire.
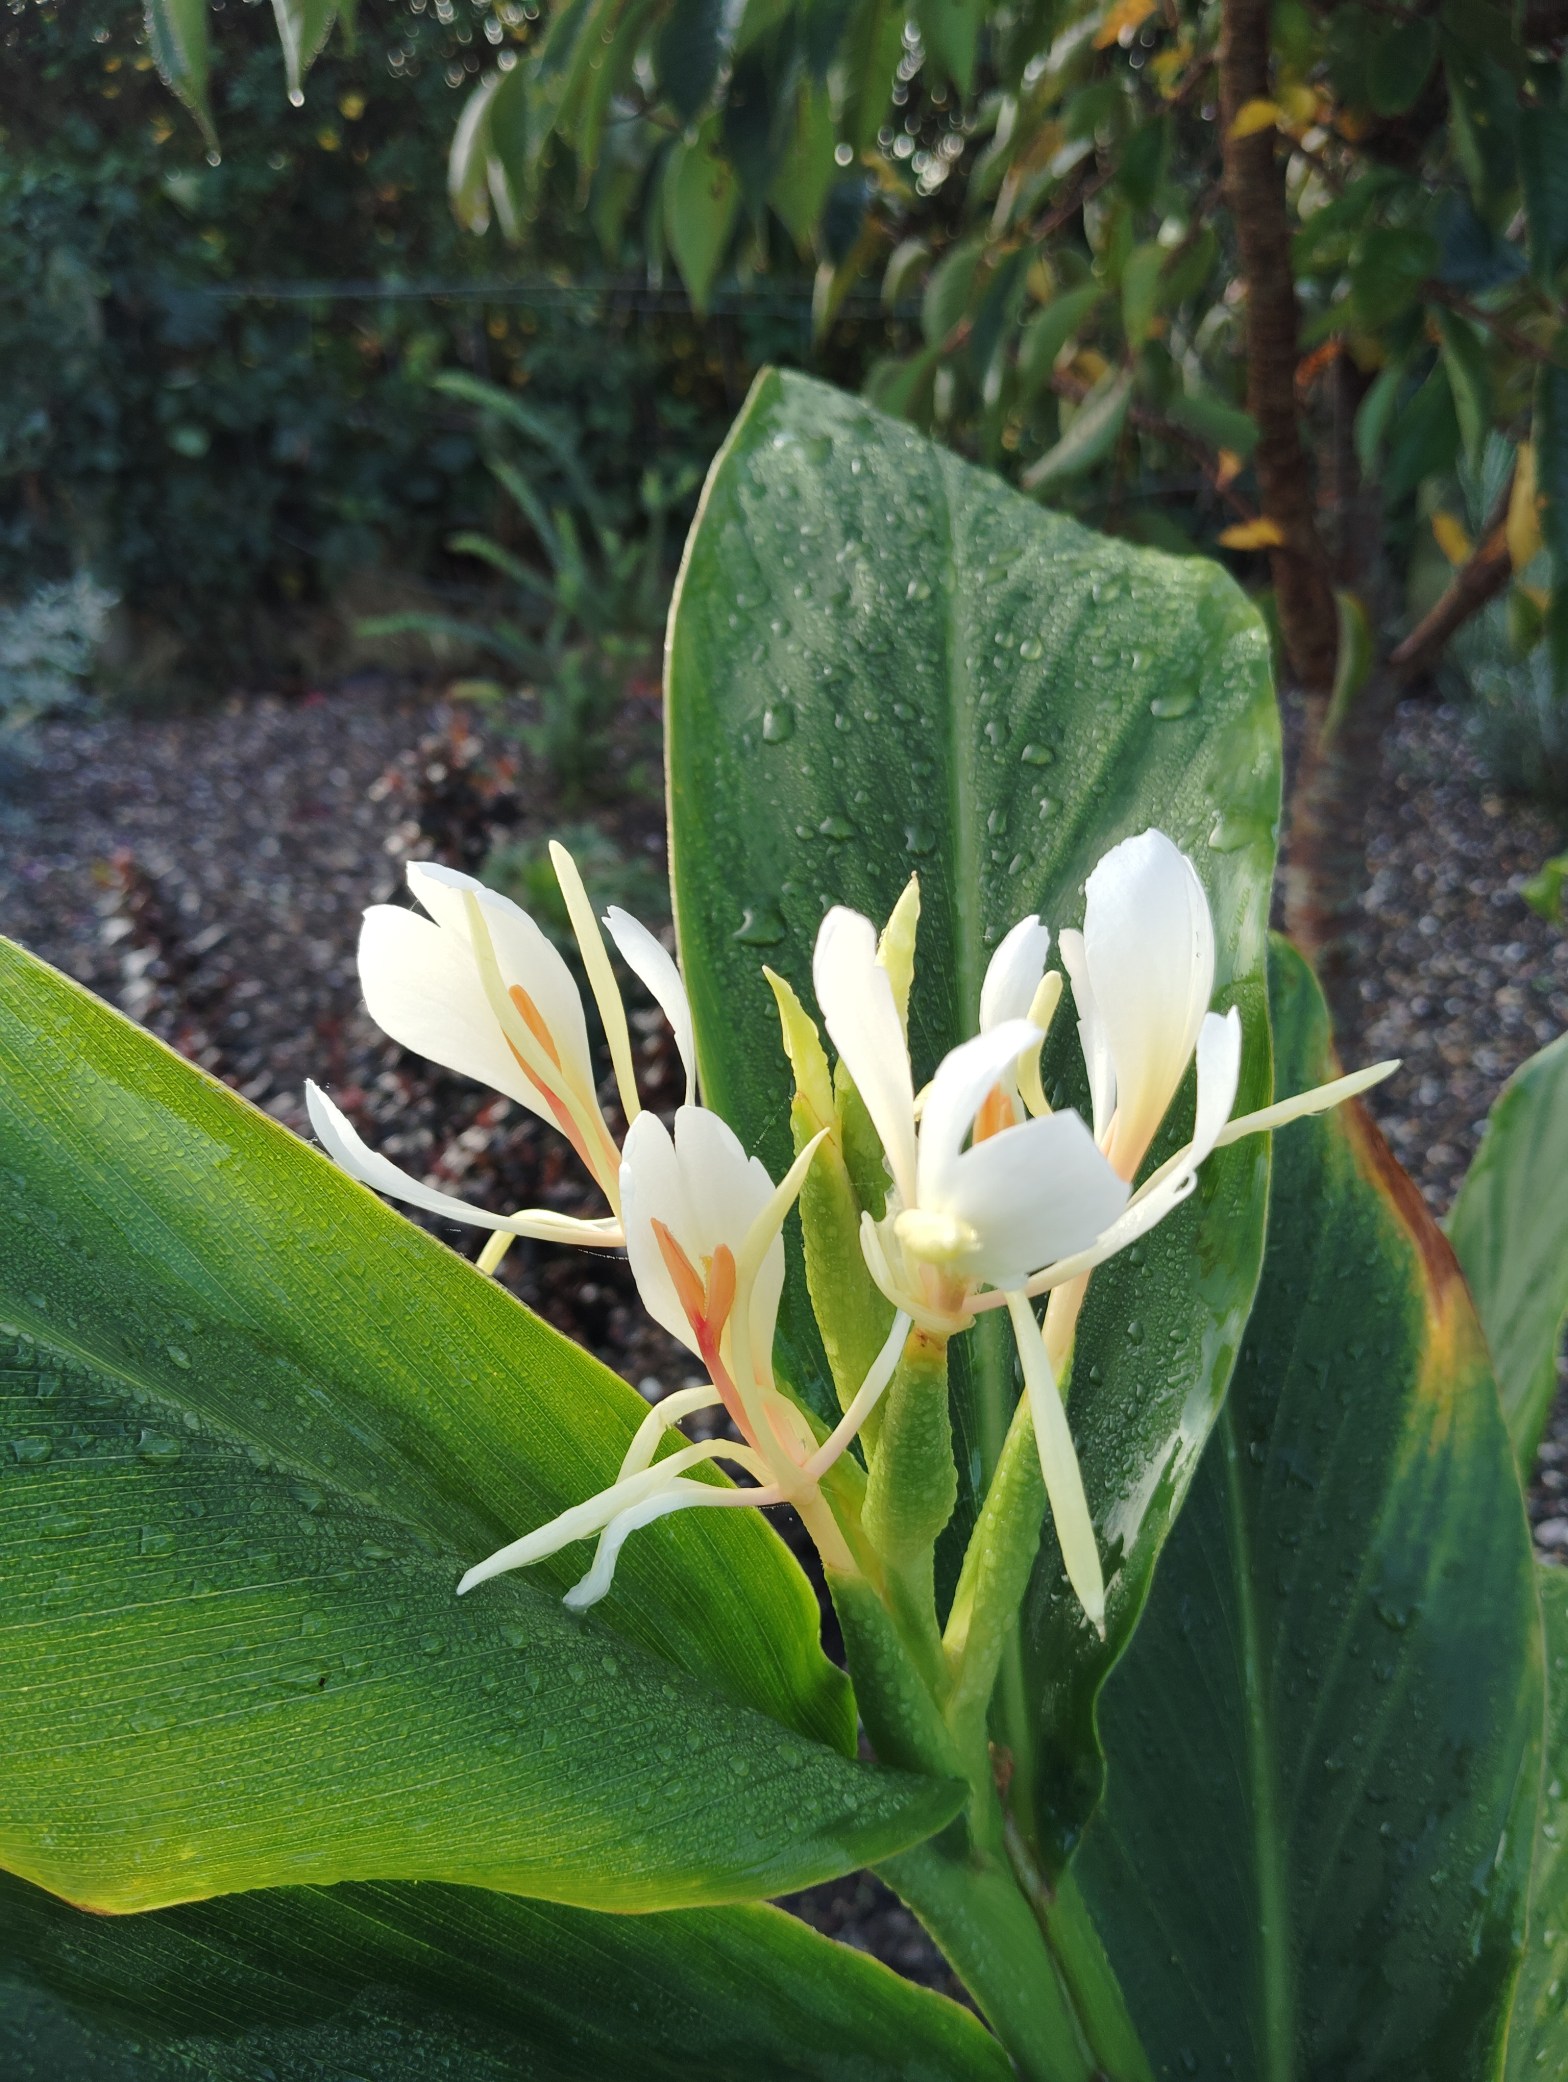
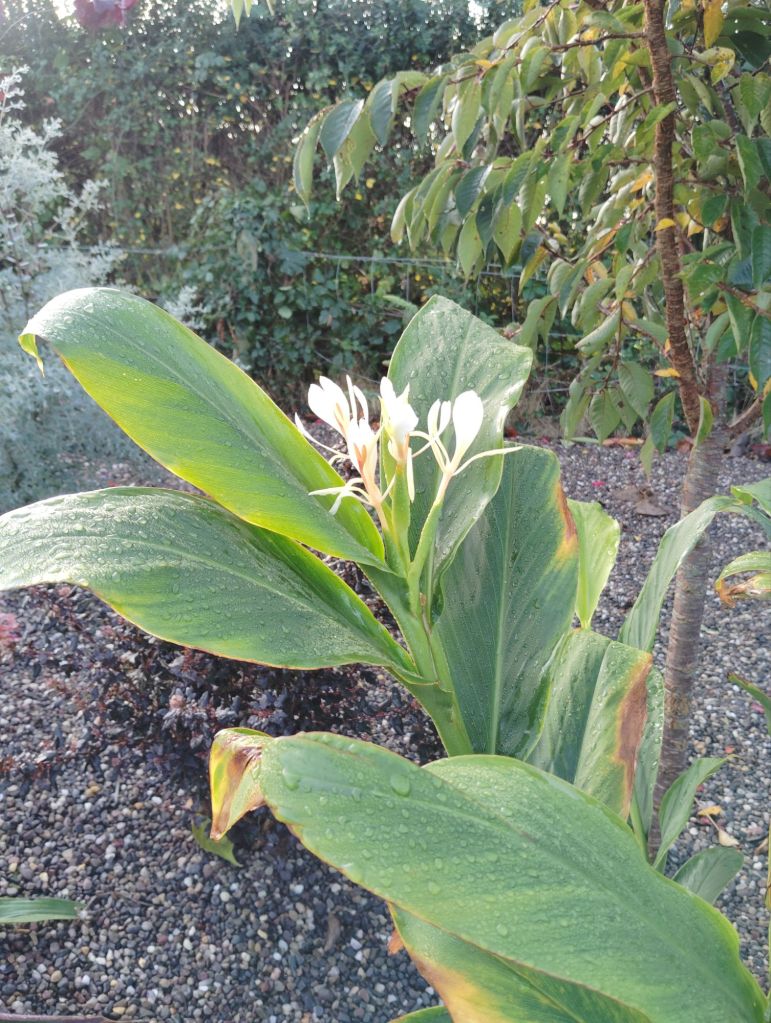
Hedychium forrestii
This hardy ginger I planted in June, so this is the first summer season and has not been tested over winter, but I am not worried, it is reputedly hardy to -10°C or lower. Even without the flowers, the plant looks great, big tropical looking foliage. This morning the sun shining through the delicate looking white blooms was a joy.
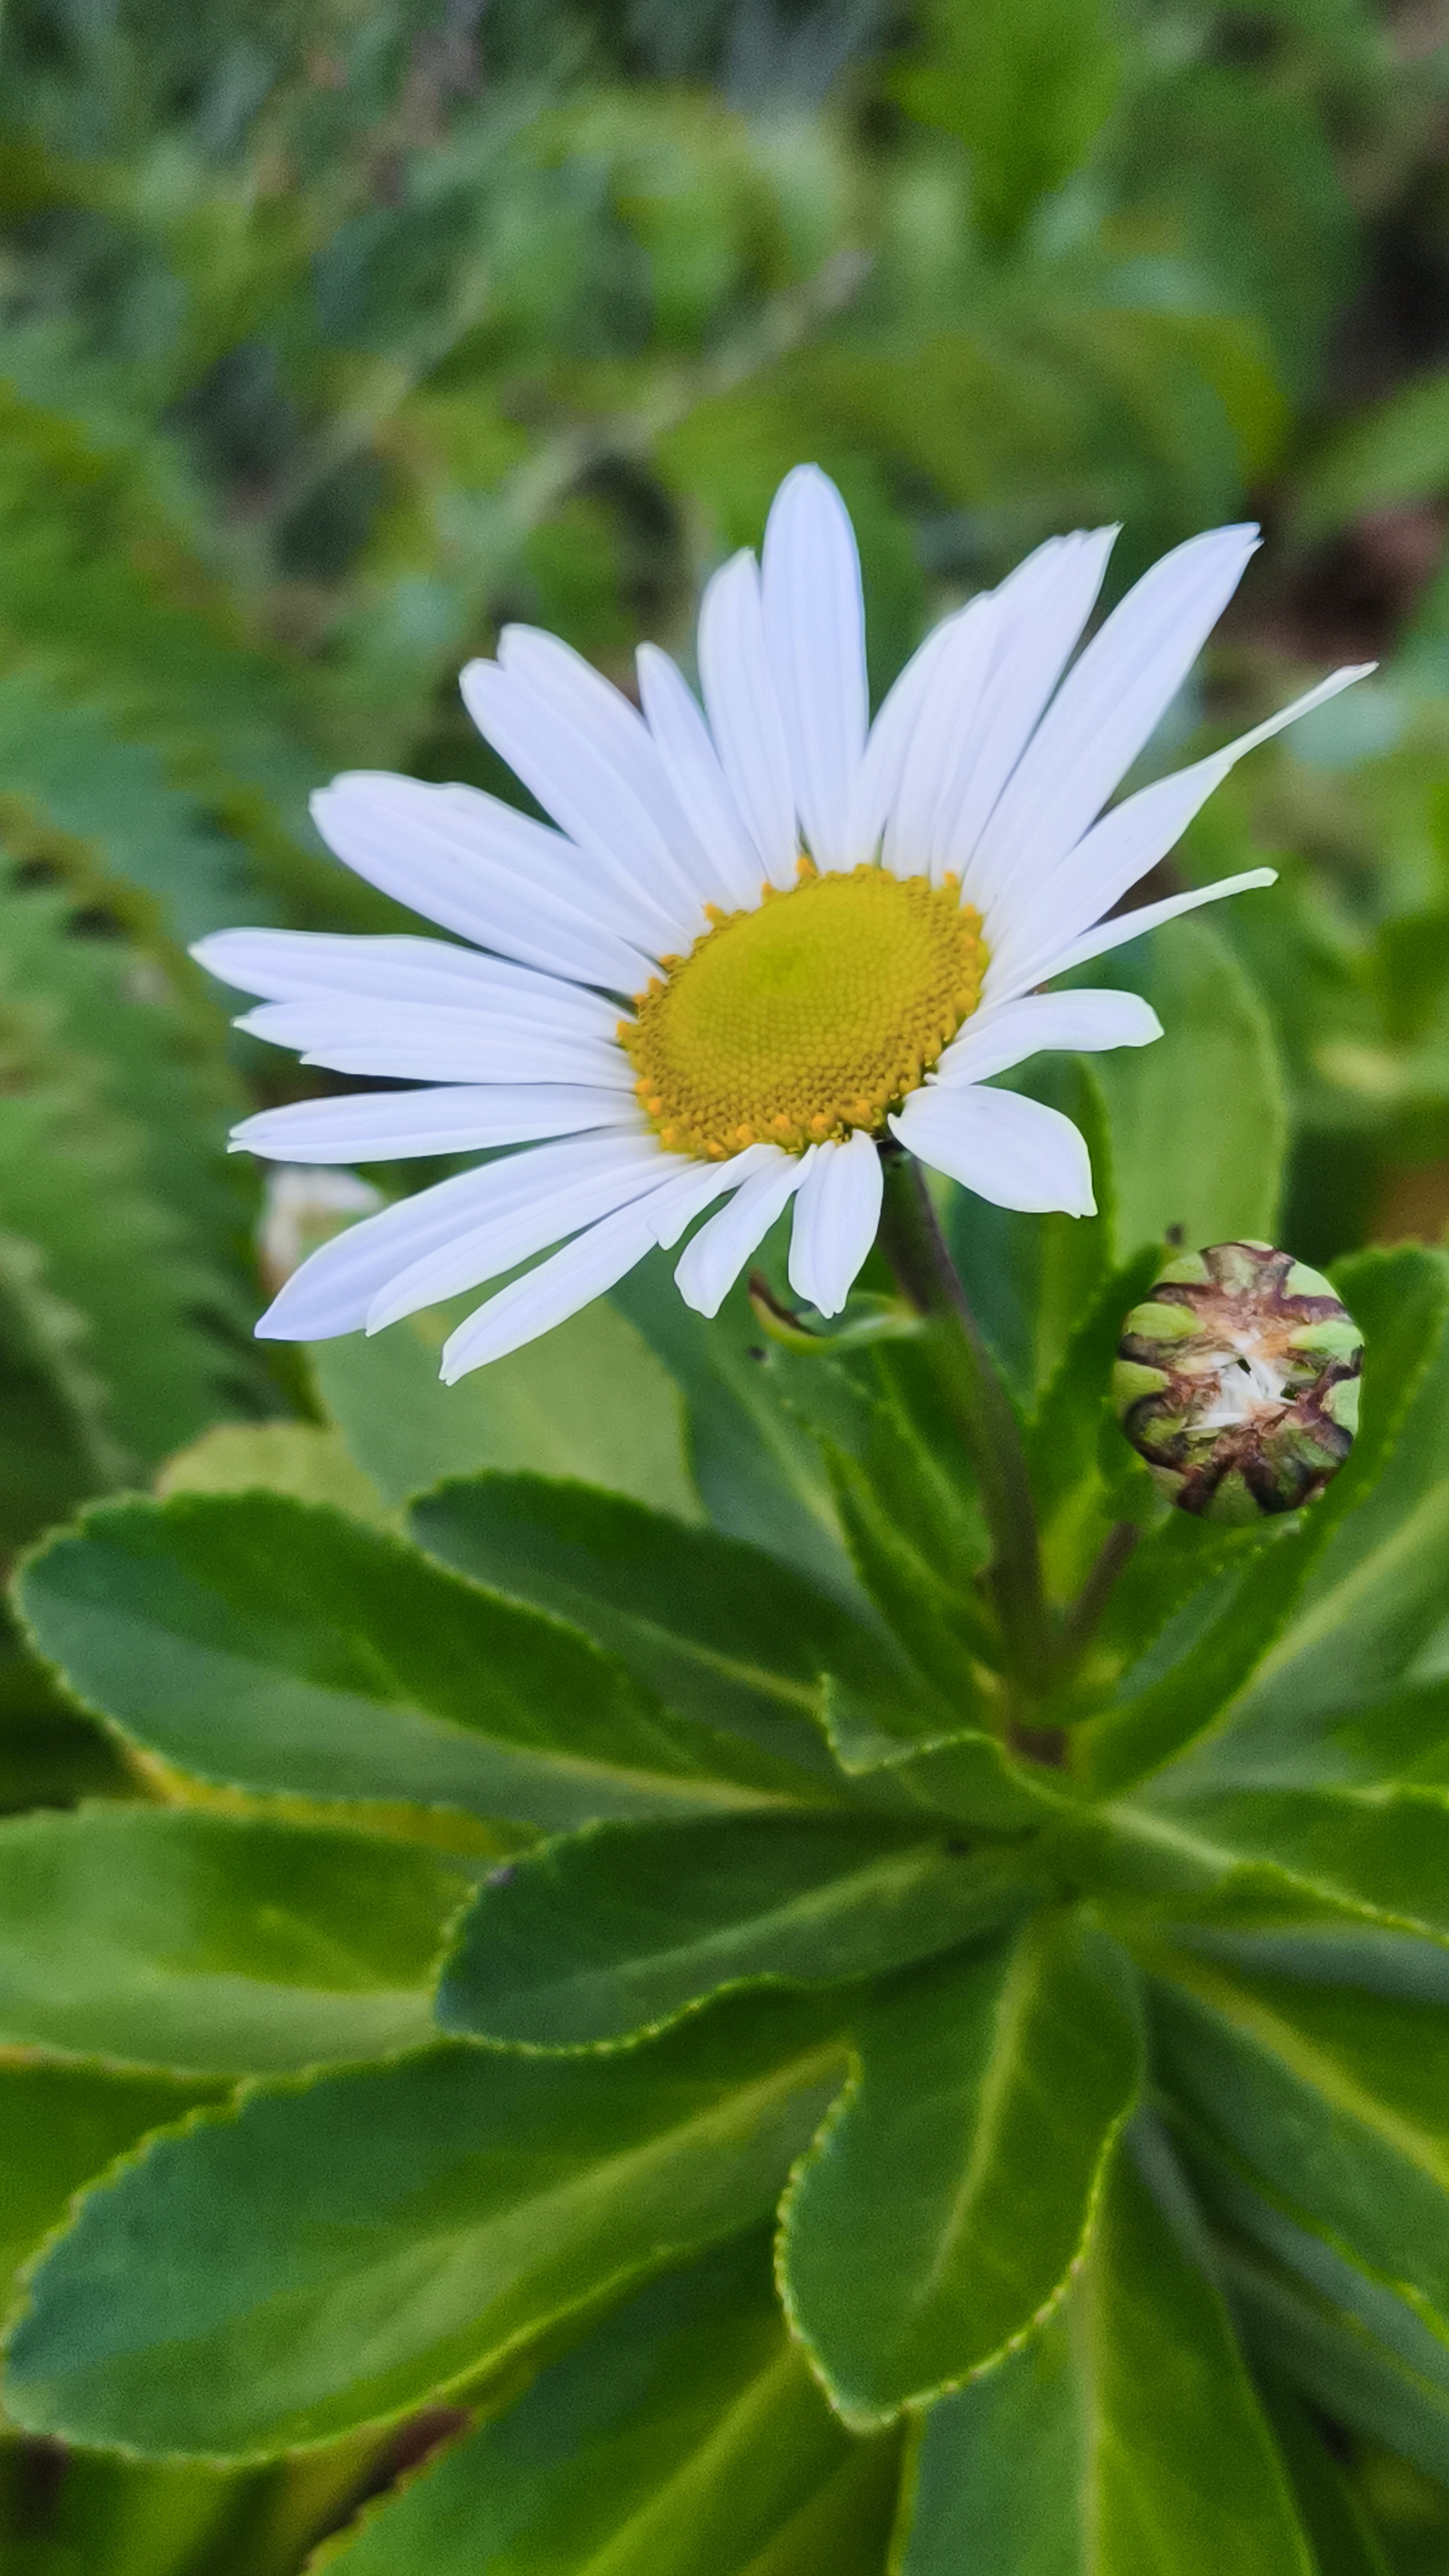
Nipponanthemum nipponicum
I love this plant! It is a hardy perennial that acts like a shrub. I cut back the stems in Spring and it quickly regrows to form a dense rounded mound of branches covered in fresh green leaves.
Then, in October the buds open into glorious large white daisies with yellow centres.
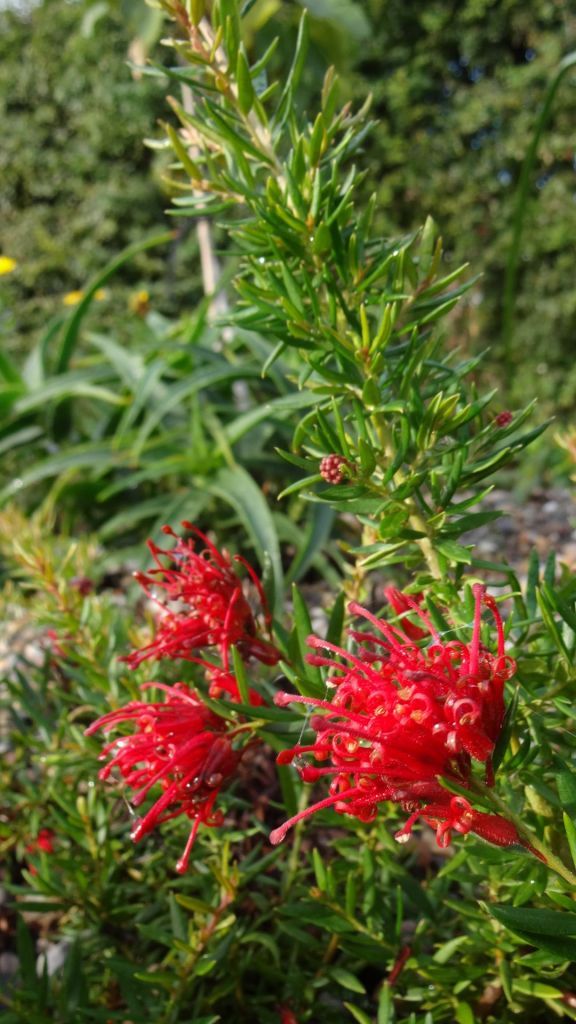
Grevillea juniperina ‘New Blood’
This is a hardy evergreen shrub with a low growing habit. Since I planted it in early summer it has been producing blooms, and there is no sign of it stopping.
Grevillea are often said to be lime haters, but I have grown a couple of others in our alkaline soil and they are showing no signs of discomfort.
Nipponanthemum nipponicum last November Nipponanthemum nipponicumHedychium forrestii plantHedychium forrestiiGrevillea ‘New Blood’ Grevillea ‘New Blood’Grevillea ‘New Blood’
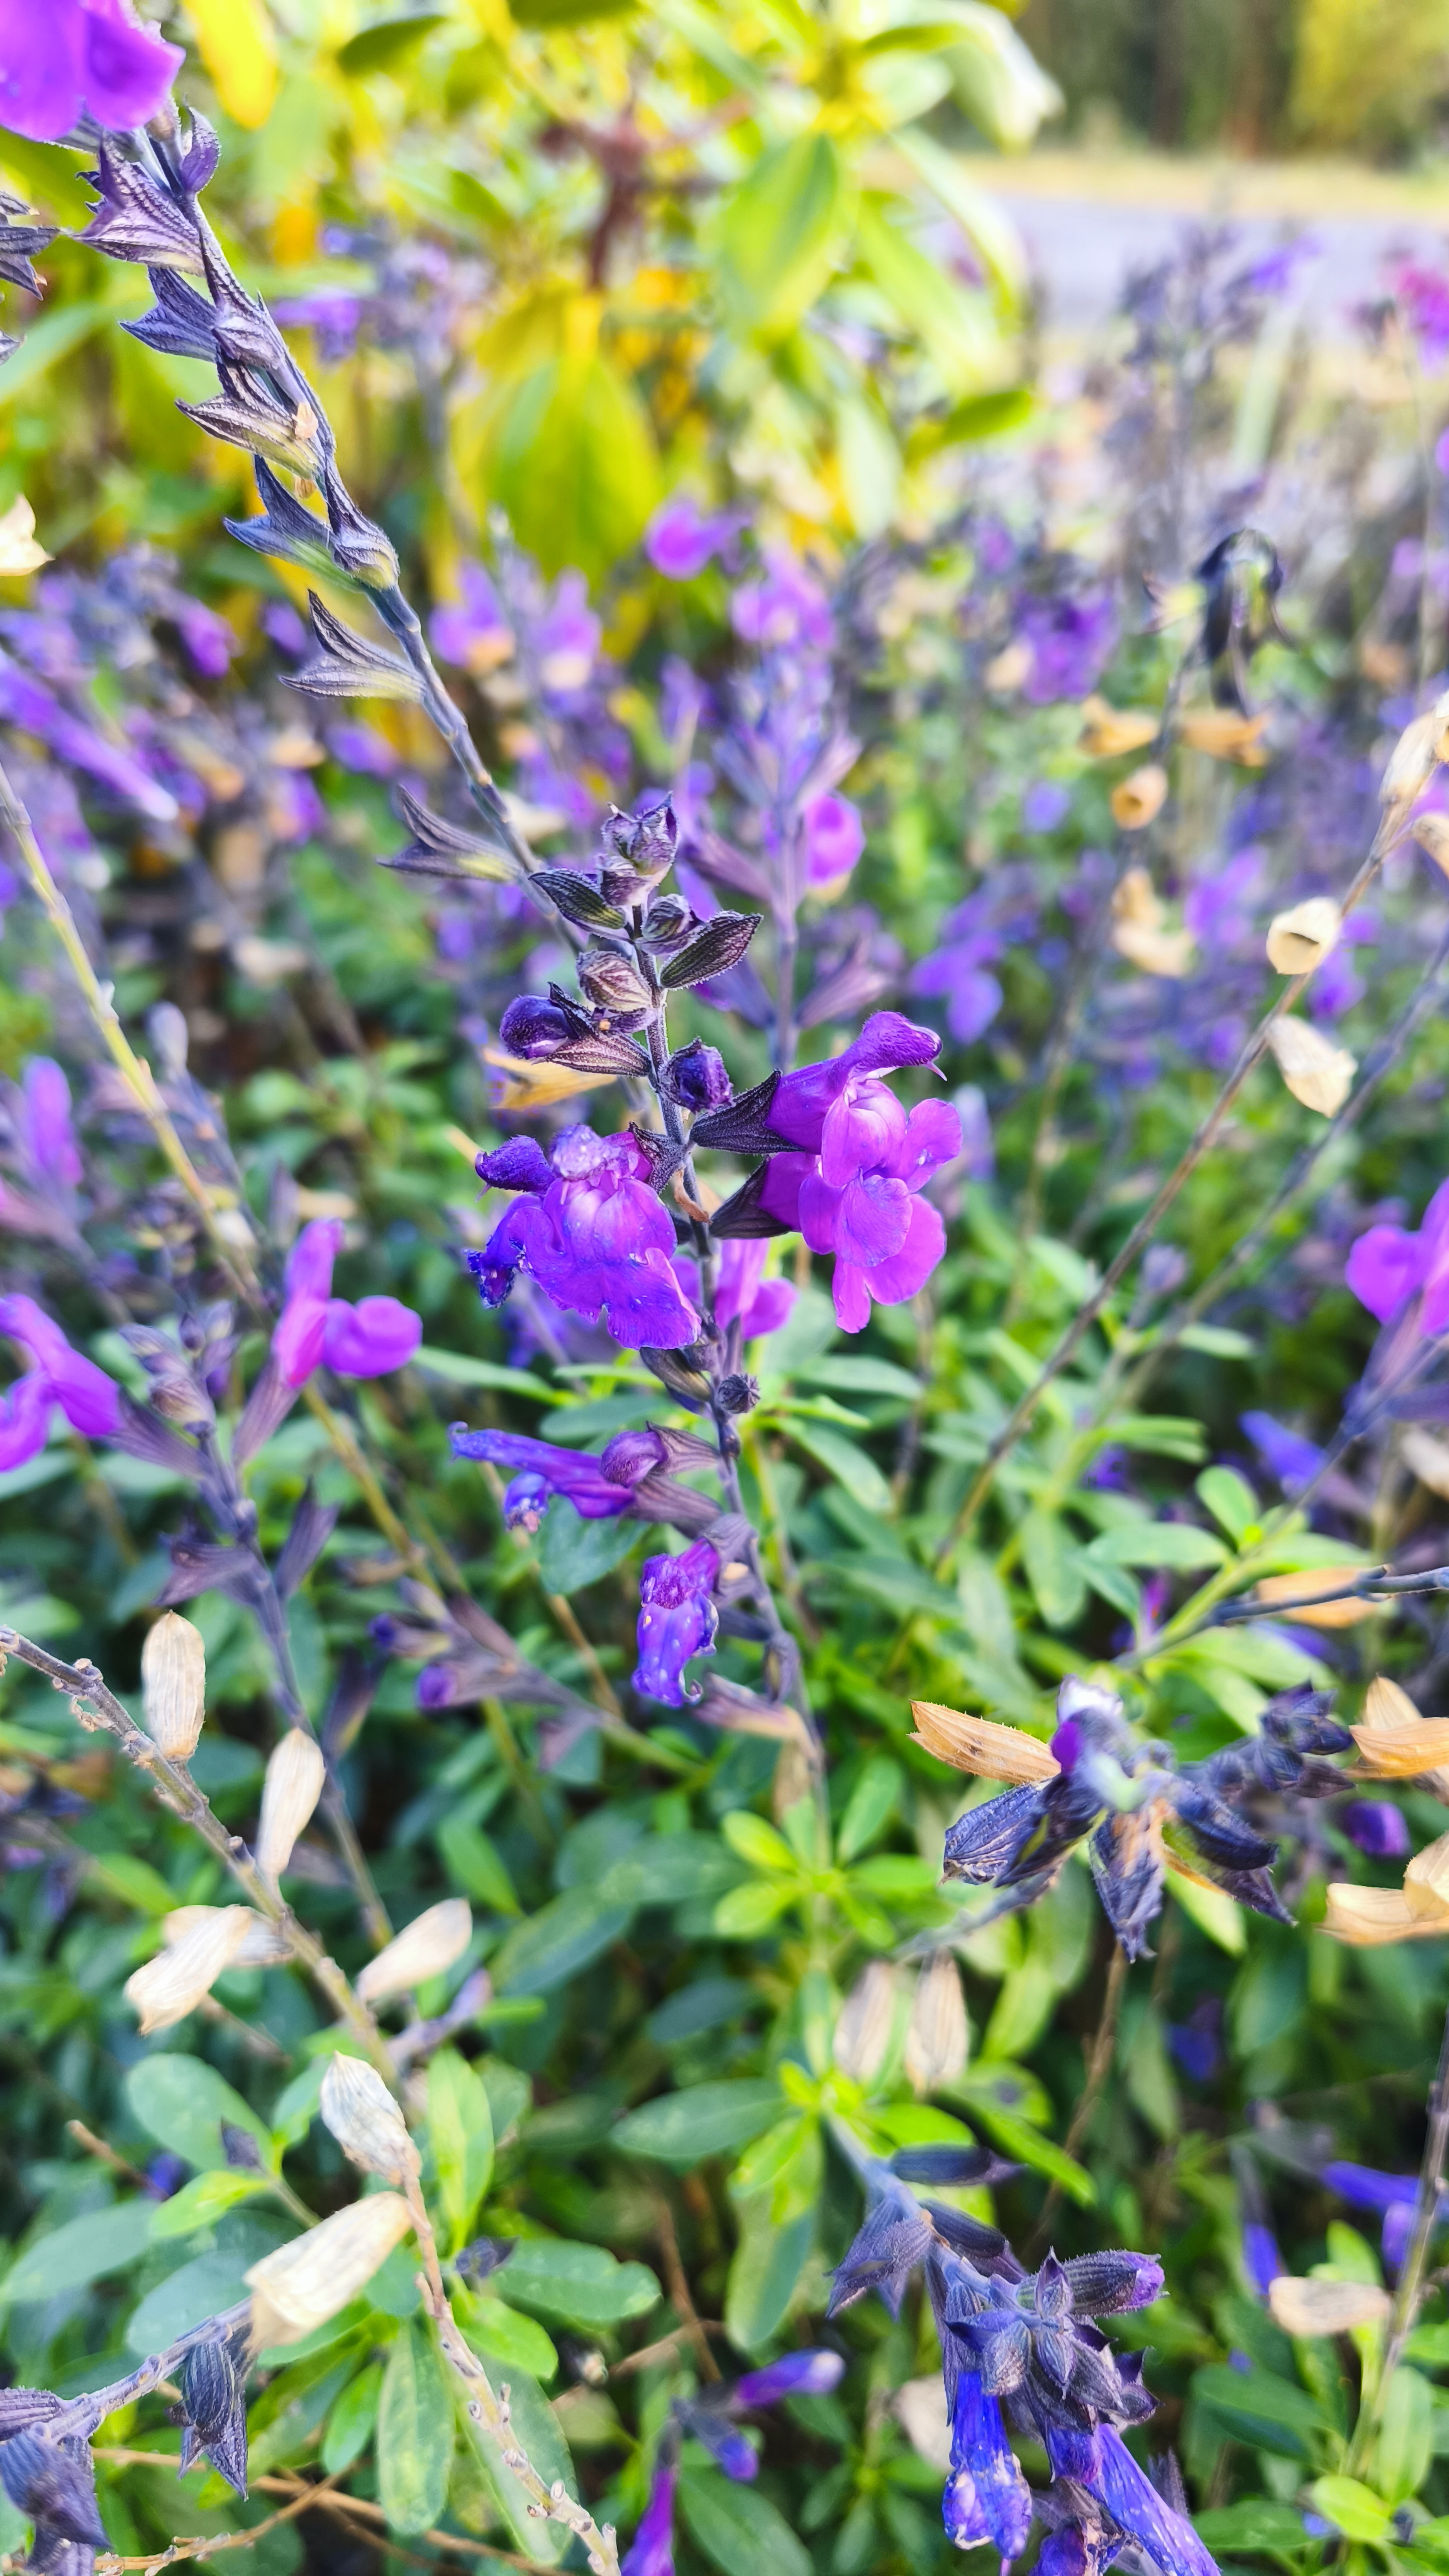
I am including some really great foliage plants in the new area of the garden. Some will also have flowers or berries to add extra interest. The flowering interest will come from Penstemons, Phygelius and Salvias, the foliage plants adding structure and drama.
Lagerstroemia ‘Berry Dazzle’, it is a small growing variety with dark foliage. It is supposed to be an early flowering selection, but they usually require lots of heat to flower. I am trying out a number of varieties, the ones I have planted all have interesting foliage, so if they don’t flower , I will have good foliage.
Callicarpa ‘Pearl Glam’ is a dark foliage variety of beauty berry, smaller and more compact than other varieties too. Purple berries will be produced that will remain after the foliage has fallen in autumn.
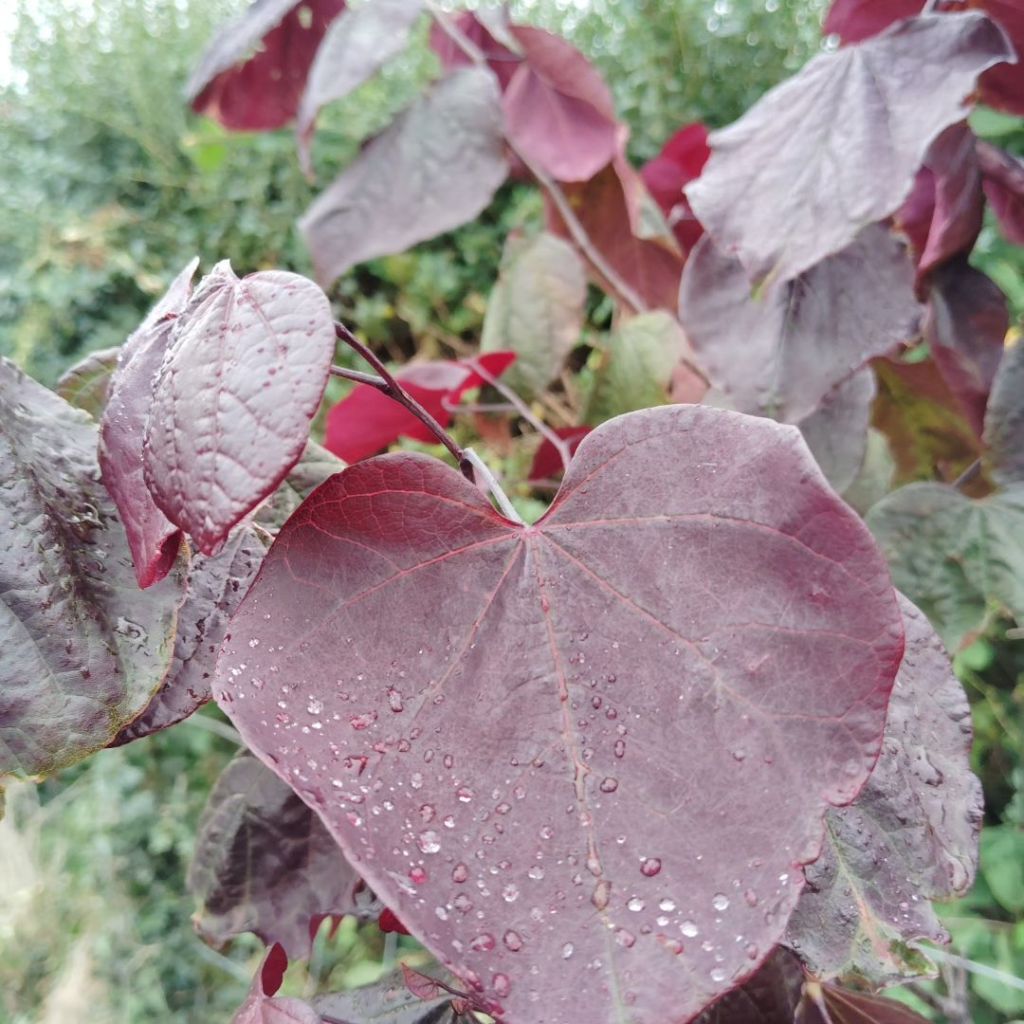
Cercis canadensis ‘Forest Pansy’ at the back of the area will be a small deciduous tree. If it flowers it will have superb pink blossom along the bare branches in Spring before the leaves emerge.
Canna ‘Black Cleopatra’s will add a touch of exotic looking drama and has orange and red flowers.
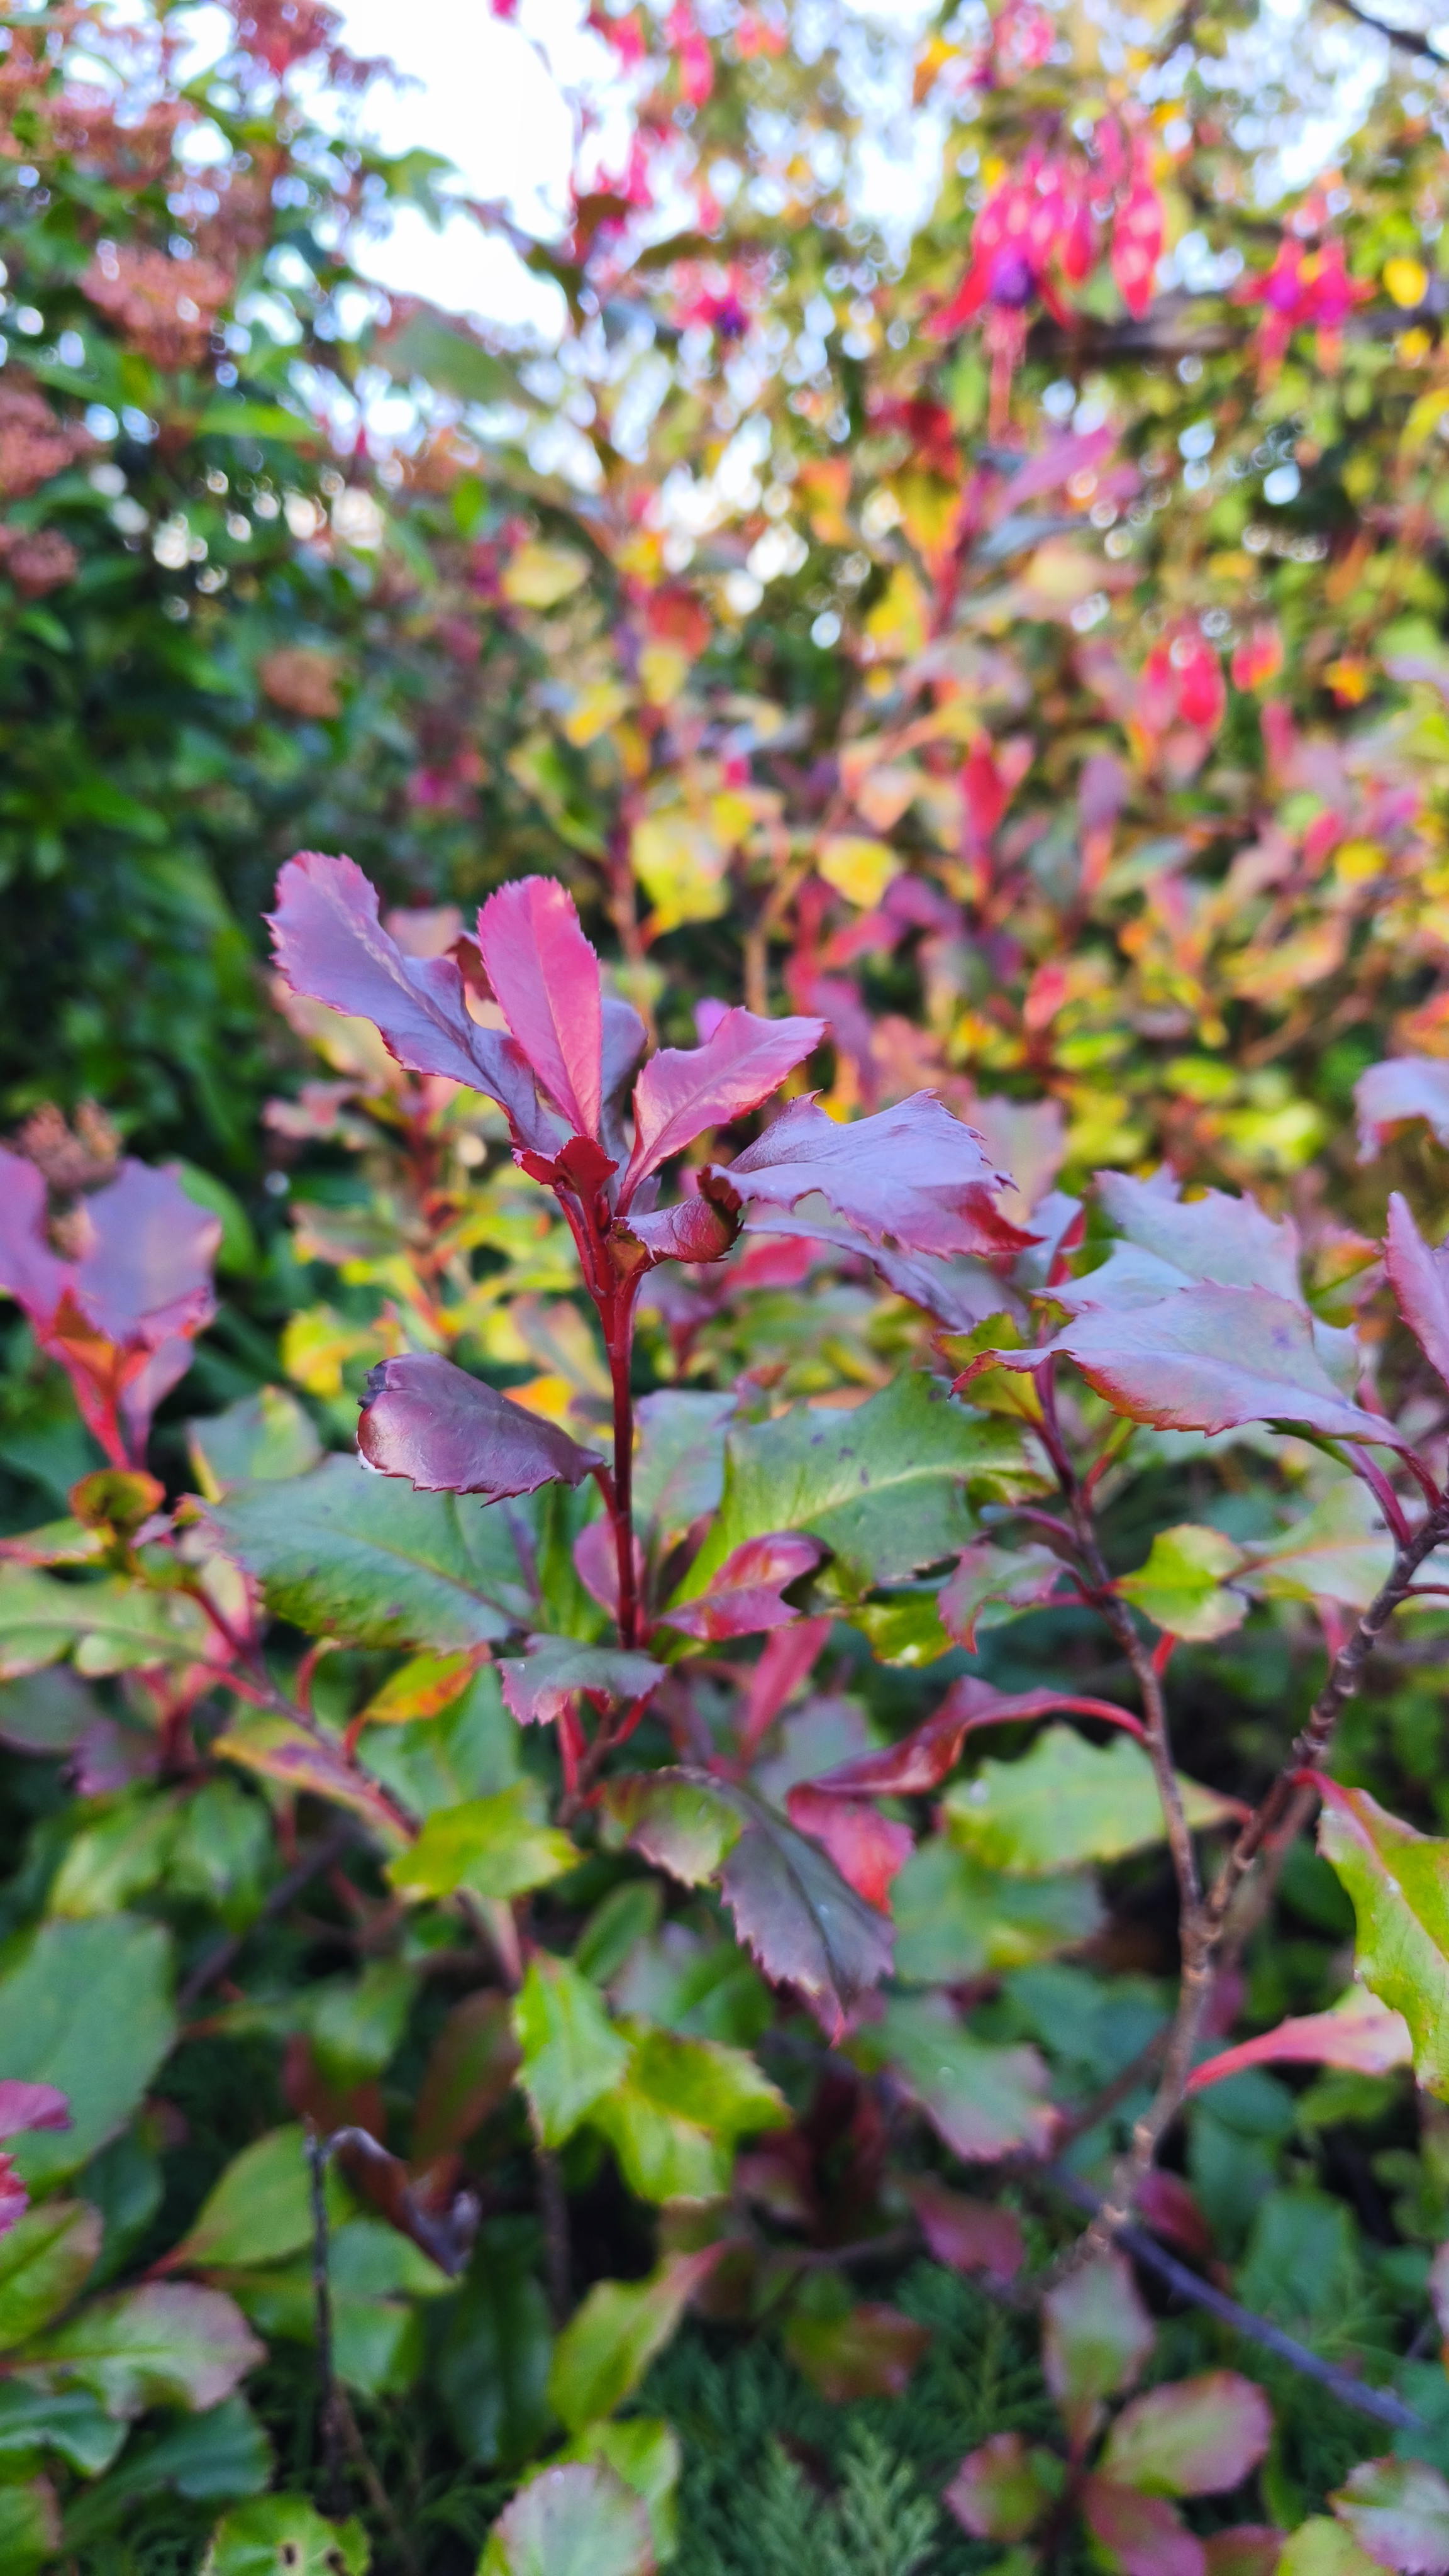
Berberis thunbergii ‘Orange Ice’ is a dwarf deciduous shrub with bright and shortly orangey red foliage with paper margins on each leaf.
X Petchoa BeautiCal L-R ‘Bordeaux’, ‘Sunray Pink’, and ‘French Vanilla’.
The Petchoa Beautical Series, a hybrid blend of petunia and calibrachoa, is quickly gaining popularity for its stunning blooms, vibrant colors, and easy-to-care-for nature. Whether you’re a seasoned gardener or a beginner, this series offers something for everyone.
A Visual Feast:
The Beautical Series features a dazzling array of colors, from classic reds and blues to unique bi-colors and mesmerizing blends. These compact plants typically grow to a height of 10-15 inches (25-38 cm) with a spread of 12-18 inches (30-46 cm), making them perfect for containers, hanging baskets, and even bedding.
X Petchoa BeautiCal ‘Sunray Pink’
Easy Care and Abundant Blooms:
Bordeaux
The Petchoa Beautical Series thrives in full sun to partial shade, requiring well-drained soil. They are relatively drought-tolerant, but regular watering will encourage more vigorous growth and abundant flowering. Deadheading (removing spent blooms) is encouraged to promote continuous flowering throughout the season.
Versatile and Long-Lasting:
These stunning plants are a fantastic choice for adding a vibrant splash of color to any garden. Their compact size and trailing habit make them perfect for hanging baskets, window boxes, and containers. They can also be used as ground cover or border plants in a mixed flower bed. The Beautical Series boasts a long flowering season, providing beauty from spring to late fall.
X Petchoa BeautiCal ‘Sunray Pink’
Key Advantages:
Vibrant and Abundant Flowers: The Petchoa Beautical Series boasts a continuous display of stunning blooms throughout the season.
Easy Care: These plants are relatively low-maintenance, requiring minimal attention for optimal growth.
Versatile: Their compact size and trailing habit make them suitable for various garden applications.
Long Flowering Season: Enjoy a vibrant display of color from spring to late fall.
Drought Tolerant: They can withstand periods of dryness, making them a suitable choice for warmer climates.
Conclusion:
The Petchoa Beautical Series is a fantastic choice for gardeners seeking vibrant, easy-to-care-for plants that deliver a long-lasting display of color. With a diverse range of colors and their adaptable nature, these plants are sure to elevate the beauty and vibrancy of any garden.